Ultimate Flatliner Sniper
Smashysnow calls the Flatliner the best sniper in Fallout 76 and the gap is not close. Its fixed unique effect doubles the damage of a fully charged shot rather than adding to it, so holding the trigger instead of spamming it takes the same suppressed shot from 2,500 to 8,000 on a critical. Furious, Explosive, V.A.T.S. Optimized and Pin-Pointer's fill the four rerollable stars, and because the Flatliner is a Gauss weapon the Explosive mod stacks with its native blast for 35% splash instead of the usual 20%. Ghoul and Human run the same weapon, the same mutations, and the same six legendary perks. They split only on where the S.P.E.C.I.A.L. points land.
Damage
8,000 per charged critical, 4,400 charged, 2,500 uncharged on a super mutant
Survivability
Armor is a free slot. Ghoul adds Brick Wall stagger immunity, Human adds Unyielding at low health
Boss
95% V.A.T.S. accuracy held at full sniper range. One-shots most non-boss targets
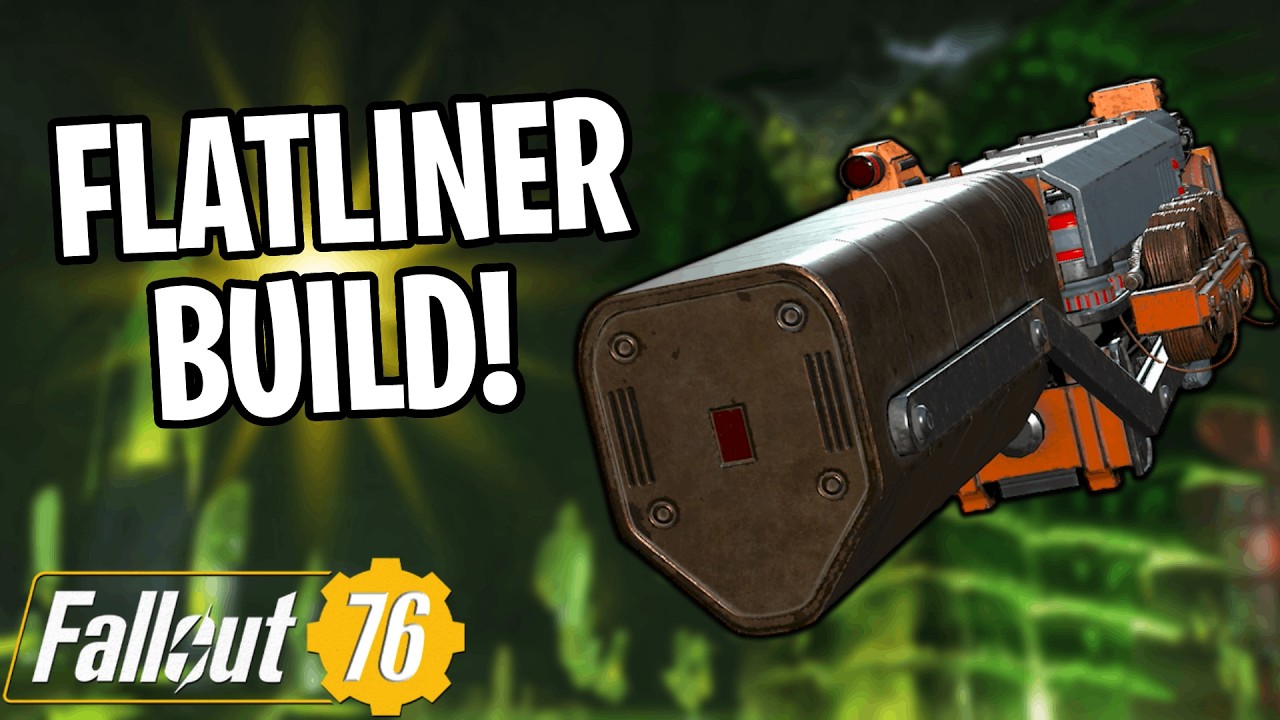
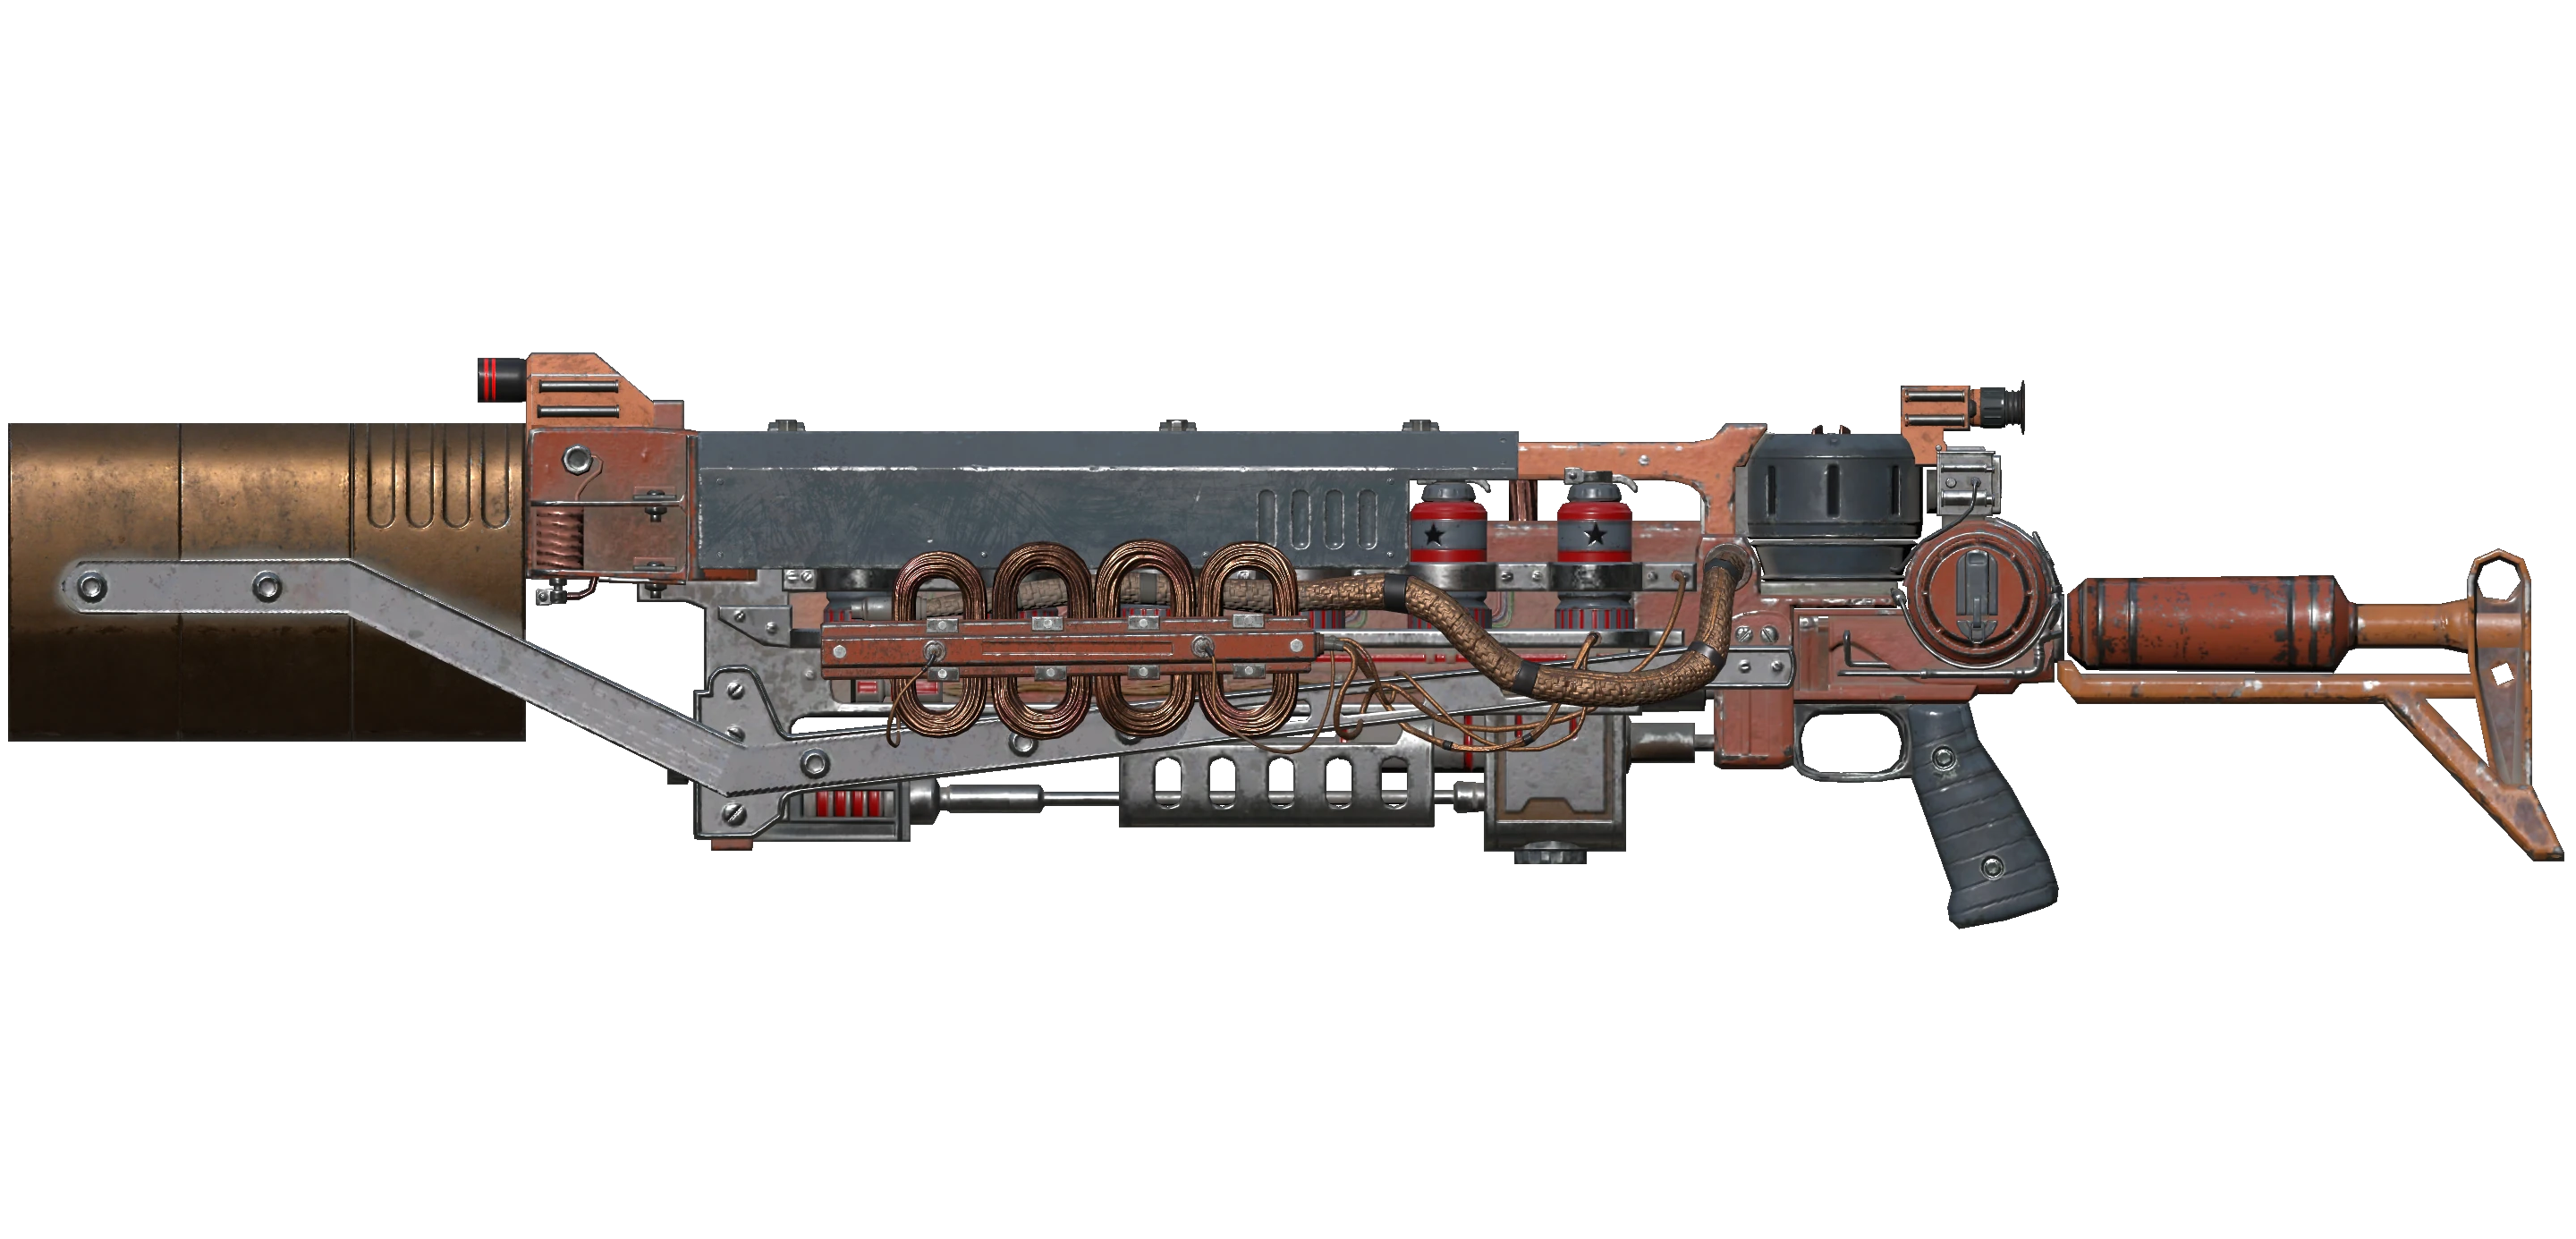
The whole build in one weapon. Its fixed unique effect doubles the damage of a fully charged shot, and that doubling is multiplicative rather than additive, so it lands on top of every other bonus instead of being diluted by them. Hold the trigger until the charge completes and let go. Spamming uncharged shots throws away the single largest multiplier you have. A short scope and a suppressor come fitted, which keeps Smart Shot and the sneak cards live at the same time.
Legendary Stars and Attachments
- ▸Furious (1-star)— Adds 5% damage per Onslaught stack and raises the ceiling by nine. The creator deliberately avoids Gunslinger Master's reverse-Onslaught version for two reasons. This weapon is explosive and burns more than one stack per shot when it fails to kill, and Agility has no spare points for the card anyway.Wiki
- ▸Explosive (2-star)— Bullets explode for 20% of weapon damage. On a Gauss weapon this is better than it looks, because the rifle's native blast remains and the two combine for 35% splash rather than 20%.Wiki
- ▸V.A.T.S. Optimized (3-star)— Cuts Action Point cost by 35%. The Flatliner pays 33 AP per V.A.T.S. shot even after this, which is exactly why Number Cruncher pays out so heavily.Wiki
- ▸Pin-Pointer's (4-star)— Adds 20% weak-point damage, which compounds with Smart Shot, Gunslinger, and Faulty Spots on the same shot.Wiki
- ▸Fully Charged Shots Deal 100% More Damage (fixed)— The weapon's locked unique effect and the reason the build exists. Charging is a hold on the fire button, and the payout is a straight doubling.Wiki
- ▸Short Scope— Sight slot. Smart Shot only works through a scope and does nothing with iron sights, so some scope is mandatory. The creator prefers the short one for target acquisition.Wiki
- ▸Suppressor— Muzzle slot. Sets the sound level to Quiet, which is what keeps Mister Sandman's silenced sneak bonus and Follow Through active.Wiki
- ▸Stinging Capacitors— Capacitor slot. Adds 25% ammo capacity and 20% armor penetration, which is where most of the weapon's listed penetration comes from.Wiki
- ▸Stabilized Shielded Barrel— Barrel slot. Cuts recoil by 25% and adds 24 points of range while keeping the weapon controllable between charges.Wiki
- ▸True Stock— Stock slot. Adds aim speed, stability, and 35% sighted accuracy, which matters on a weapon you hold still while it charges.Wiki
Alternate Attachments
- Long ScopeWiki
How to Obtain
Nothing here is mandatory, and the creator is explicit about that. The weapon carries the damage on its own, so armor is chosen for the encounter rather than for the build. Limit-Breaking is the default pick because cheaper V.A.T.S. criticals means more charged shots per bar.
How to Obtain
Combat Strategy
- ▸Join any public team before entering the activity. Teammates do not have to come with you, and it switches on both Taking One for the Team and Herd Mentality.
- ▸Take your serums and buff food outside of combat. A console bug can freeze the game if you use a non-Stimpak consumable while taking damage.
- ▸Ghouls should top up Glow with irradiated food so Brick Wall, Eye of the Hunter, Glowing Criticals, and Science Monster are all active before the first shot.
- ▸Swap Eye of the Hunter for Center Masochist if the boss you are about to fight takes its real damage in the chest.
- ▸Crouch before firing so Covert Operative and Mister Sandman both apply to the opening shot.
- ▸Hold the fire button until the charge completes. An uncharged opener throws away a straight doubling of the largest hit in the fight.
- ▸The sneak shot triggers Follow Through, which raises all damage on that target for the next ten seconds.
- ▸Enter V.A.T.S. and lock onto the weak point rather than letting the game choose a body part for you.
- ▸Charge, fire, let V.A.T.S. rebuild, repeat. This is a deliberate rhythm, not a spam weapon.
- ▸Keep Onslaught stacks alive with consistent hits. Furious, Gunslinger Expert, Guerrilla Expert, and Guerrilla Master all scale off the same counter.
- ▸Explosive splash is doing 35% of weapon damage in a radius, so nearby adds take meaningful collateral without any extra input.
- ▸Watch the Action Point bar rather than the magazine. At 33 AP per shot, Action Points run out long before 24 rounds do.
- ▸On the Guardian, the chest is the weak point, so Ghouls should be running Center Masochist rather than Eye of the Hunter.
- ▸On the Infestation robot, the tankiest boss in the rotation, target the chest for the same reason rather than going for the head.
- ▸Drop Escape Artist in the raid and put the point into Covert Operative instead. Losing enemies is worthless in a fight you cannot leave.
- ▸Stay on the team even when you enter alone. Boss attacks that land on you are what keeps Taking One for the Team paying out.
- ▸Do not slot Bullet Storm. It rewards ammunition volume, which a single-charged-shot weapon never produces.
- ▸Do not slot Gunslinger Master. Its reverse Onslaught spends stacks on hits, and an explosive weapon burns more than one per shot whenever it fails to kill.
- ▸Cut Tenderizer for two free Charisma points if you always charge and never carry a fast-firing secondary.
- ▸Console players who find the consumable freeze bug intolerable can drop Brick Wall entirely and spend the Strength elsewhere.
- ▸Humans at full health should skip Nerd Rage. It only pays out at low health and is dead weight on a full-health sheet.
Sources
Verified: 2026-09-22 · All content is original with full credit to original creators.