Copycat Biker DSOD
 Copycat
Stacks 65%+ crit through low concealment and uses Body Expertise to convert that crit onto body shots, so the Tempest-21 and SpecOps SMG melt heavy units without precise headshots. Copycat copies Biker's kill regen for sustain, while Bullseye armor gating and auto-deploying Uppers cover what kill regen can't.
Damage
65%+ crit through Low Blow + Unseen Strike, with 90% body-shot conversion via Body Expertise. Heavies fold in 0.5-1s bursts.
Survivability
Armor gating via Bullseye every 2s, Biker regen on every kill, Uppers auto-revive at <5m. Trades hits indefinitely.
Boss
Bulldozers concussed and crit-melted in one mag. Cloakers and Tasers one-shot via stacked Bloodthirst melee.
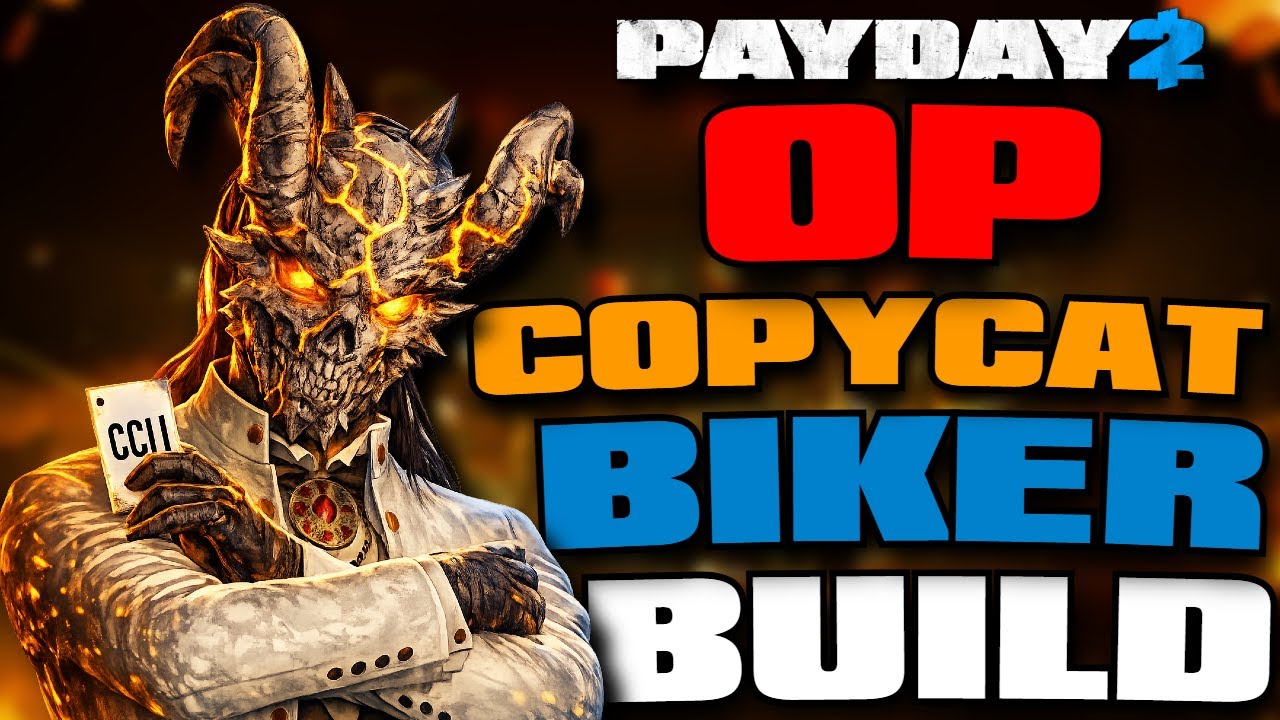
Copycat
Perk deck added with the H3h3 Character Pack. You pick one stat boost (health, armor, dodge, or movement speed) for each of cards 1 through 4, and the ultimate slot lets you copy the signature ability of any other perk deck. Picking Biker gives you the kill-fueled health and armor regen that anchors this build.
Compact assault rifle with the highest base concealment of any base-game primary. The 26 concealment is what powers Low Blow's crit chance, and the auto-fire cadence triggers Body Expertise for 90% headshot damage on body hits.
Mods
- ▸Bigger the Better Suppressor— Silencer, keeps detection low and works with The Professional aced for stability
- ▸Stability Boost— Recoil control mod, eats some concealment but stacks with Steady Grip aced
- ▸Auto Fire (Custom)— Custom fire selector, locks the rifle into full-auto so Body Expertise stays active
- ▸Compact Laser Module— Gadget slot, free hip-fire accuracy that pairs with Fire Control
- ▸Speed Pull Magazine— Fast reload mod to keep DPS uptime when Lock N' Load aced procs
- ▸Speculator Sight— Sight slot, low concealment penalty so the build stays under the Low Blow threshold
How to Obtain

The lightest armor option in the game. Mandatory for the build because it grants 30 concealment, the highest possible, which is what enables 65%+ Low Blow crit and keeps the gear list under the detection threshold.
How to Obtain

Non-lethal stun grenade. Stuns everything in a 15m radius for 3 seconds, including Bulldozers, which is the cleanest way to set up safe burst windows on heavies and to revive teammates under fire.
How to Obtain

High-damage charged melee with strong knockdown. Charged hits scale Bloodthirst stacks into burst kills on Cloakers and Shields, and the 30 concealment keeps the build's crit chance maxed.
Alternatives
- Kento's TantoWiki
How to Obtain

Buffed via the Uppers skill in the Mastermind tree. Drop kits at objectives so the auto-deploy catches downs within 5m before they register, which protects the limited DSOD One Down state.
How to Obtain
Combat Strategy
- ▸Equip Copycat with cards 1, 3, 5, and 7 set to +20% Max Health and Card 9 set to Biker (option 16).
- ▸Confirm both weapons are silenced. Without silencers Optical Illusions Aced does not stack, and you fall under the Low Blow concealment threshold.
- ▸Drop a First Aid Kit near the start of the objective so the Uppers auto-deploy is already in range when the assault wave kicks off.
- ▸Convert the first surrendered cop with Joker, then stick within the Partners In Crime aura range to get the +30% max health and Joker damage buff.
- ▸Engage with the Tempest-21 in full-auto so Body Expertise applies the 90% headshot multiplier to body shots. Switch to the SpecOps for tighter spaces.
- ▸Land headshots when Bullseye is off cooldown. Each one regenerates 5 armor and gates the next incoming hit.
- ▸Concuss a Bulldozer or Shield group, then walk in with Ice Pick or Kento's Tanto and release a charged Bloodthirst-stacked melee for the one-shot.
- ▸Exploit the 3-second concuss stun to swap to your melee, charge, and release before the stun wears off.
- ▸If a Shield wall blocks your line, fire into it with the Tempest-21 to proc Shock and Awe Aced's 60% knockback chance, then crit-finish with body shots.
- ▸Biker regen restores 5 health and 5 armor on every kill, with the cooldown shortening as your health drops. Push aggressively rather than backing off.
- ▸When armor breaks, Second Wind grants +30% movement speed for 5 seconds. Use that window to disengage to a corner and let Bullseye refill armor on the next headshot.
- ▸Drop a fresh First Aid Kit before bleeding out. Uppers Aced auto-uses the kit on any teammate within 5m on a 20-second cooldown.
- ▸Switch to the flex loadout (drop Bloodthirst, Martial Arts, Hardware Expert for Nine Lives Aced) on heists with heavy custody risk. The extra down is worth more than the melee burst on long objective holds.
- ▸Stack Bloodthirst by killing a wave of Cloakers and Tasers with ranged shots, then save the maxed melee for the next Bulldozer or Captain Winters phase.
- ▸Forced Friendship lets you stockpile up to 8 hostages before a holdout to give the crew the +4 damage absorption buff during heavy assault waves.
Sources
Verified: 2026-04-27 · All content is original with full credit to original creators.