Monorail: Dark Horizon DLC

 Hunter / Invader
Pairs the Monorail, the strongest ranged DPS weapon in Remnant 2, with 73% damage reduction. Charged shots land for 92K-200K+ damage while Leech lifesteal and Immovable stagger immunity keep you on the trigger.
Damage
92,000 – 200,000+ damage per charged shot
Survivability
73% damage reduction with dual life steal (Leech + Siphoner)
Boss
200,000 damage demonstrated on the Ravager

Hunter
Precision marksman archetype. Amplifies weak spot damage and ranged critical hits, with Hunter's Focus as a 20-second cooldown that sharpens both.
Invader
Evasion-focused archetype providing damage reduction, threat manipulation, and the crucial Worm Hole skill for repositioning during boss fights.
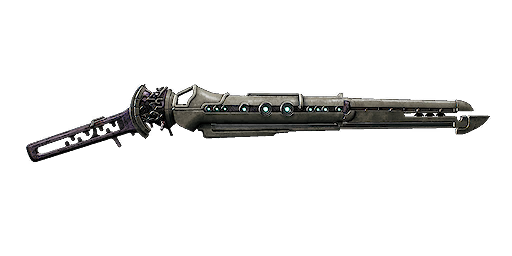
Core DPS weapon for the build. Charged shots scale with the +110% weak spot bonus and three-round magazine for the burst windows, with ideal-range bonuses out to 35m.
Mods & Attachments
- ▸
- ▸
Alternatives
- Nightfall
- Mutator: Extender
How to Obtain
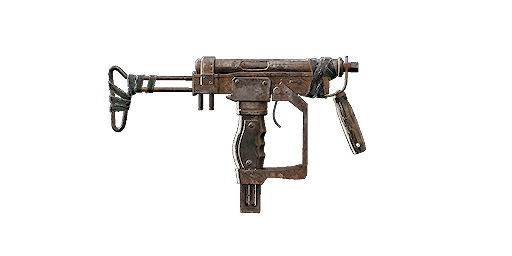
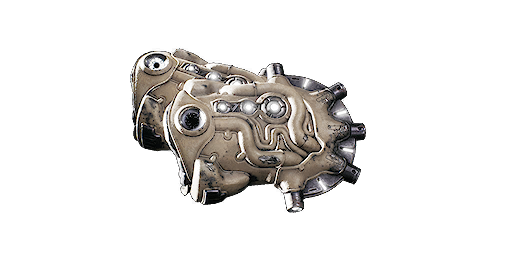

Gunslinger's signature hat. Light helmet that frees up weight budget for the Leto Mark 1 body, gloves, and leggings, while still contributing to the 73% damage reduction target.
How to Obtain
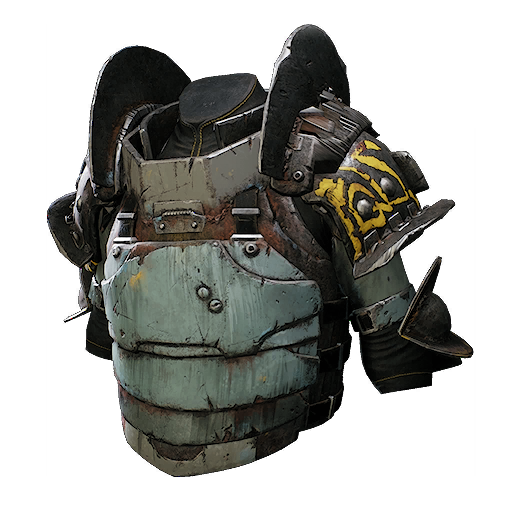
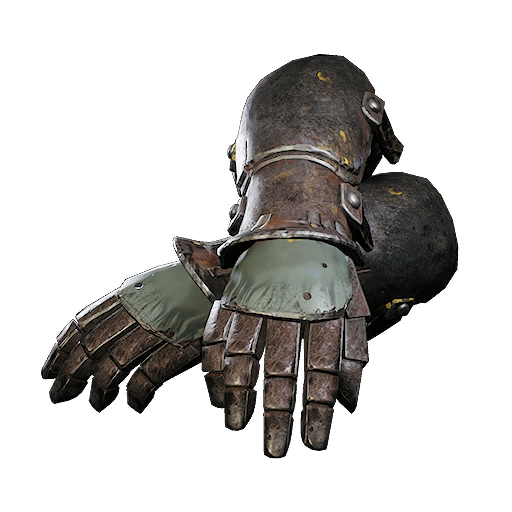
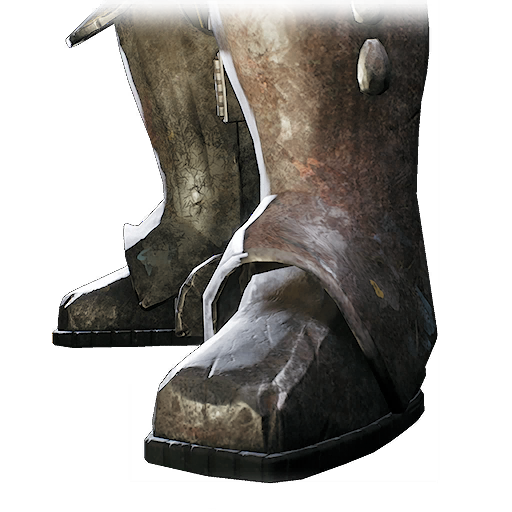
The High Noon Hat plus the full Leto Mark 1 set is the recommended loadout, but the build only requires 73% total damage reduction to function. Any armor combination that reaches that threshold while leaving you under the Strong Back-boosted weight cap is fine. Focus on raw armor first, then balance elemental resistances based on the encounter.

Grants 3 Bulwark stacks for +2% damage each (+6% total) and, with Immovable slotted, gates the build's stagger immunity. Also known as 'The Egg' in the community.
How to Obtain
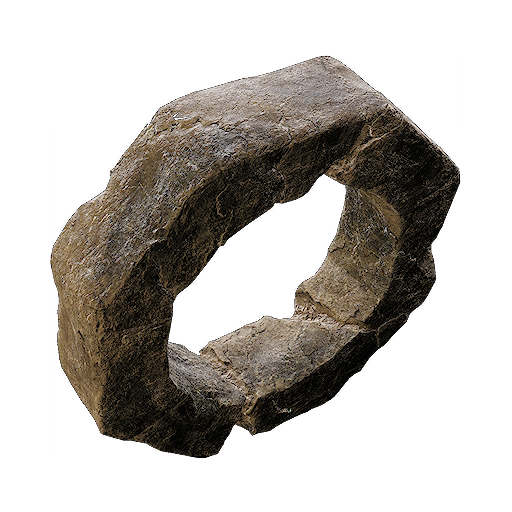

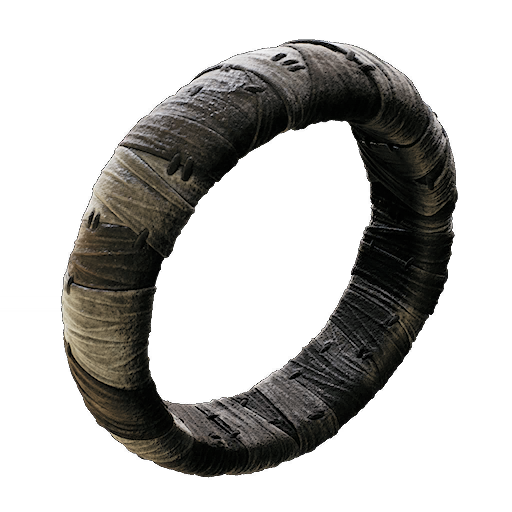


Provides 3% base lifesteal at all times, and its active effect boosts Lifesteal Efficacy by 50% for 15 seconds, reinforcing sustain during burst windows.
How to Obtain
Combat Strategy
- ▸Activate Bulwark status to trigger the Immovable fragment. Stagger immunity lets you charge shots freely without interruption.
- ▸Activate Hunter's Focus before firing to apply the +25% ranged and weak spot damage bonus for 20 seconds.
- ▸Position at optimal range to hit the Monorail's damage falloff bonuses.
- ▸Fire fully charged Monorail shots into weak spots for 92K-200K+ damage per hit.
- ▸Deploy Bore mod on enemies without natural weak spots to create one before firing.
- ▸Use uncharged shots on adds and low-priority targets. Base damage is high enough to kill without the charge wind-up, conserving the burst combo for elites.
- ▸Swap to Shocker + Kilonova for area clearing between charges when adds overwhelm.
- ▸Activate Wormhole immediately before releasing a fully charged shot for the 300% damage multiplier.
- ▸Reserve the combo for bosses, elites, and aberrations, where the 300% Wormhole multiplier stacked with weak spot damage has the most value.
- ▸Time the charge so the shot releases within the Wormhole damage window for maximum burst.
- ▸Leech trait and Siphoner fragment provide dual life steal, healing you on every hit.
- ▸73% damage reduction from armor and defensive traits keeps you alive through sustained fire.
- ▸Trade hits freely during charged-shot windows, since Leech and Siphoner scale healing with the 92K-200K damage per shot.
Sources
Verified: 2026-03-20 · All content is original with full credit to original creators.