Sidewinder Savior

 Archon / Gunslinger
A hybrid ranged and mod build around the Savior fusion rifle. Shatterstar counts as mod damage, so ranged crit chance and mod crit chance stack together for roughly 80% crit chance, and Archon's Tempest keeps mods up permanently. Gunslinger's Sidewinder works around the Savior's painfully slow reload. You swap to a full secondary and back, and Sidewinder refills the Savior without draining its own timer. Zero Hour, Anastasija's Inspiration, and Tolerance Band push charge speed to the 80% cap while the build stays in the light weight class.
Damage
~80% combined crit chance, 17K+ DPS on dummies with Bore
Survivability
41.5% damage reduction (DPS) or 51.2% (defense), constant passive regen
Boss
Sidewinder skips the Savior's reload for nonstop charged shots

Archon
A hidden mod-specialist archetype that only unlocks after you finish the campaign once. Its Tempest prime perk generates Mod Power on its own and doubles that rate after every mod cast, and its Flash Caster trait speeds up mod and skill casting.
Gunslinger
Firearms specialist archetype focused on weapon handling and ammo. Its Sidewinder skill speeds up weapon swaps and reloads each gun as you swap to it, and its Ammo Reserves trait deepens every gun's ammo pool.

The star of the build. A versatile fusion rifle that charges up for heavy shots, with a perfect-release window for maximum damage. Its only real weakness is a very slow reload, which Sidewinder bypasses entirely. Shatterstar imbues every shot with fire, so Archon's mod bonuses apply, and fragments burst off each hit to clear nearby mobs.
Mods & Attachments
- ▸Mod: Shatterstar— Built-in. Imbues shots with FIRE and applies BURNING for 20s (1,250 Mod Power). Hits fragment into nearby enemies for a share of the initial damage. Counts as mod damage, which is what lets the build double dip on ranged and mod crit chanceWiki
- ▸Mutator: Supercharger— Faster charge speed for bows and fusion rifles, up to 30% at level 10, where charged primary shots also gain 15% crit chance. Drops from Bane in Twilight Vale, encountered on the way to the Invader archetypeWiki
How to Obtain
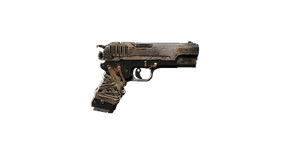
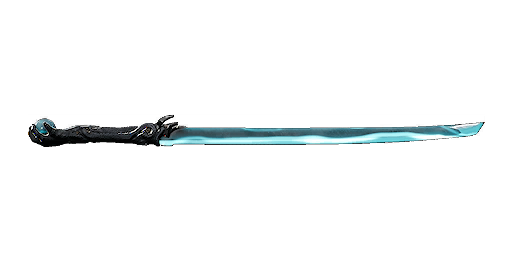

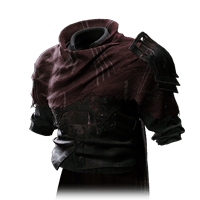


The creator recommends starting with the defense version if you're newer or still learning enemies, and moving to the DPS version once you're comfortable. The DPS version sits at only 41.5% damage reduction. The defense version swaps Chaos Gate for Reality Rune, Zero Hour for Energy Diverter with a Closed Loop ring, and the light armor for the Leto, Technician, and Bruiser pieces at 65 weight. That reaches 51.2% damage reduction and still puts out respectable damage.
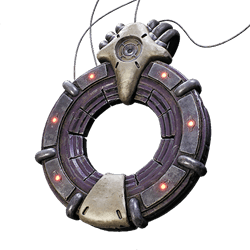
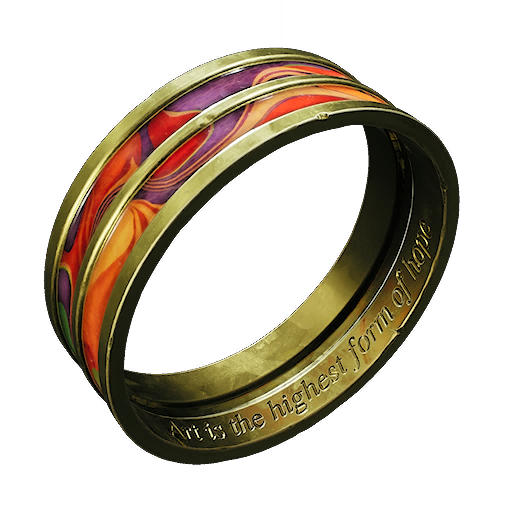

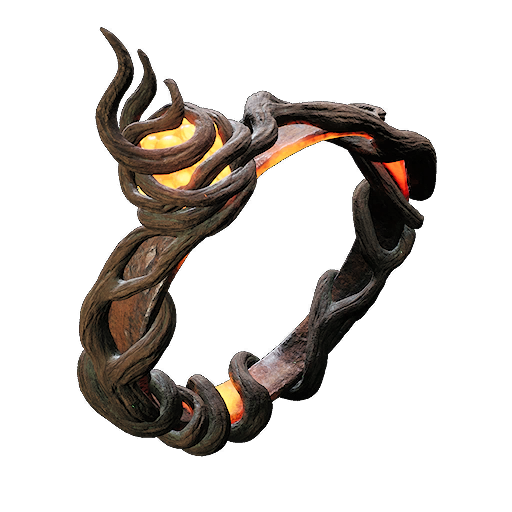
The creator's favorite relic. Passive regeneration keeps Anastasija's Inspiration's HASTE going, and together with Spirit Healer it gives the squishy DPS version steady healing.
How to Obtain
Combat Strategy
- ▸Decide on a version first. The defense version is recommended for newer players, and the DPS version is for players who already know the enemies.
- ▸Stay in the light weight class on the DPS version so Zero Hour's full bonus stays active.
- ▸Get healed once before engaging so Anastasija's Inspiration gives you HASTE.
- ▸Fire a Bore drill into an existing weak spot with your handgun for the extra 15% ranged crit chance.
- ▸Swap to the Savior and release fully charged shots into the drill. The Savior pierces, so each shot hits the drill and the enemy behind it.
- ▸Use Shatterstar on every cast. It imbues shots with fire and clears nearby mobs with burning fragments.
- ▸Activate Sidewinder at the start of the fight and use Chaos Gate for the damage stacks.
- ▸Empty the Savior, swap to your full secondary, then swap back so Sidewinder refills the Savior. Swapping to a full gun costs no Sidewinder time.
- ▸If Bore is too hard to land, run Double Barrel or Western Classic with Hidden Power instead. They reload while stowed, so you save Sidewinder time.
- ▸The DPS version only has 41.5% damage reduction, so lean on Tranquil Heart regen and Spirit Healer heals.
- ▸Swap to Reality Rune for an extra 25% damage reduction if you're dying too often.
- ▸Outside boss fights, save Sidewinder and let Nano Swarm on the Nebula option clear trash while the Savior reloads normally.
Sources
Verified: 2026-10-08 · All content is original with full credit to original creators.