Slayer Sporebloom

 Hunter / Gunslinger
Stacks every reload speed source in the game onto the single-shot Sporebloom. Slayer, Outcast Ring, Bulletstorm, Krell Axe Transference, and a reload-focused Prism let it fire almost like a machine gun with manual reloads, sustaining 13K-15K DPS. The light armor setup keeps Zero Hour's crit and damage bonus active at 45.7% damage reduction.
Damage
13K-14K sustained DPS, peaks of 15K. Weak spot hits around 11.5K, 20K+ with pylons
Survivability
45.7% damage reduction in the light class, survives about two hits. Tranquil Heart regen
Boss
Hunter's Focus weak spot shots shred bosses

Hunter
Precision marksman archetype built around weak spot hits. Its Hunter's Focus skill tightens spread and adds ranged damage, and the Dead to Rights prime perk extends Hunter skills whenever you land weak spot damage.
Gunslinger
Firearms specialist archetype focused on fire rate and ammo. Bulletstorm boosts reload speed by 50% and turns single-shot weapons fully automatic, and its Ammo Reserves trait deepens every gun's ammo pool.
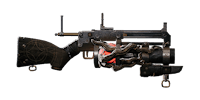
The star of the build. A single-shot long gun that must reload after every round, so every point of reload speed translates directly into damage. Weak spot hits land around 11.5K with no pylon buffs and pass 20K once crit damage is stacked.
Mods & Attachments
Alternatives
- Mutator: MomentumWiki
How to Obtain

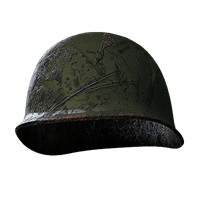
Light helmet that keeps the total loadout in the light weight class while still contributing to the 45.7% damage reduction target.
How to Obtain
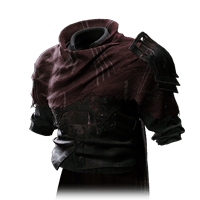


Any armor combination works as long as it stays in the light weight class, because Zero Hour loses damage and crit for every class above light. This set lands at 45.7% damage reduction, enough to survive about two hits from most enemies.
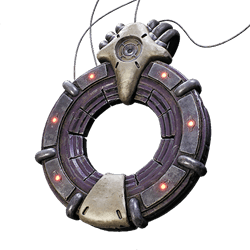
Huge flat damage and crit bonus for light-weight builds. The whole armor setup is planned around keeping its full bonus active.
How to Obtain



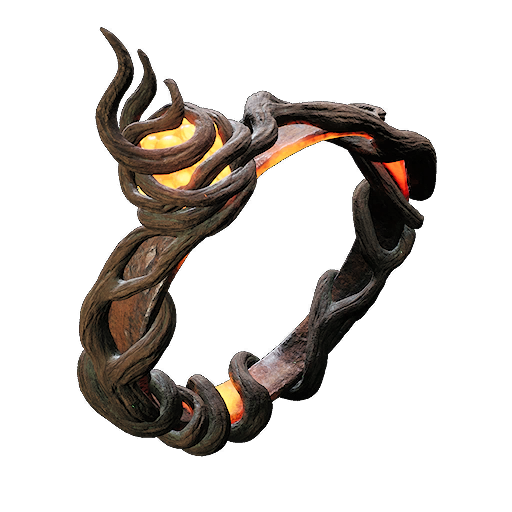

Hands-off passive regeneration for players who don't want to manage relic charges. Triage boosts the regen further. Any relic works here if you prefer another.
How to Obtain
Combat Strategy
- ▸Stay in the light weight class so Zero Hour keeps its full +20% damage and +10% crit chance.
- ▸Keep spread reduction at exactly 30% from Handling. Any more makes the reticle vanish in Hunter's Focus.
- ▸In Boss Rush, always take the crit damage pylon, and grab the reload speed pylon whenever it is offered.
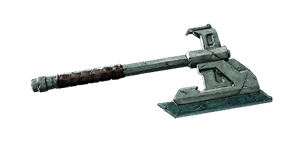
- ▸Throw the Krell Axe to apply OVERLOADED and trigger Transference for +50% reload speed.
- ▸Brand the target with Death Brand so it takes 10% more damage.
- ▸Activate Hunter's Focus or Bulletstorm before committing to the damage phase.
- ▸Press reload yourself right after every shot. Letting the game reload automatically is much slower and costs a large share of your DPS.
- ▸Each OVERLOADED tick re-procs Transference, so one axe throw keeps the reload buff up for roughly 15 seconds with Affliction.
- ▸Aim for weak spots for hits around 11.5K, or over 20K once crit damage is stacked.
- ▸Mobs usually die to a single tap, so swap Hunter's Focus for Hunter's Mark when mobbing to track every enemy within 35m.
- ▸With HASTE from Spore Shot plus Athletic's evade speed, you keep Hunter's Focus through any dodge as long as you stay aimed down sights.
- ▸Switch to the Corrupted Rune Pistol and spray when swarmed or when your reload timing slips.
Sources
Verified: 2026-10-07 · All content is original with full credit to original creators.