Best Starter Tactical
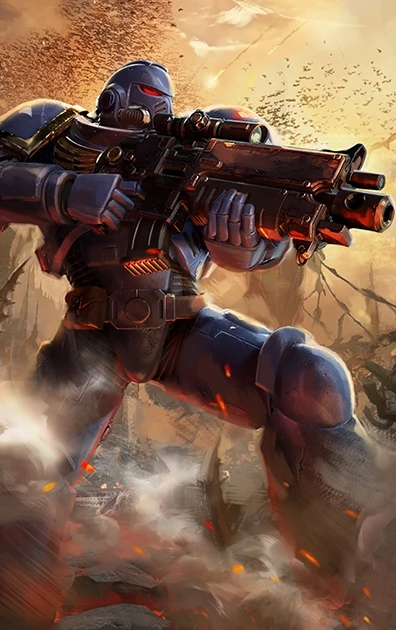 Tactical
The Melta Rifle build for players who want to reach Absolute difficulty without learning precise aim first. The Melta fires a wide thermal cone, so hitting things is not a skill check, and its own perk tree hands you health regen, armour regen, and ammo back for free. Decisive Reload returns a round on every Majoris finisher and Emperor's Vengeance refills the magazine outright, which means the weakest part of a Melta build, its tiny ammo pool, stops mattering. Around that sits a survival core built for new players: Heightened Vigour removes the stun-locks that kill beginners, and a simplified Auspex Scan line gives you the full 150% damage mark without the positioning that Concentrated Fire demands.
Damage
150% bonus damage on Auspex-marked targets (Precise Calibration 75% + Expert Timing 75%), plus Melta cone damage that needs no aim
Survivability
Heightened Vigour no-knockback, Rapid Health floor, Trick Shot armour regen. Adequate for Tactical, which has little native damage reduction
Boss
Strong. Auspex mark plus point-blank Melta bursts down Extremis targets, though it lacks the headshot multipliers of a Bolt build
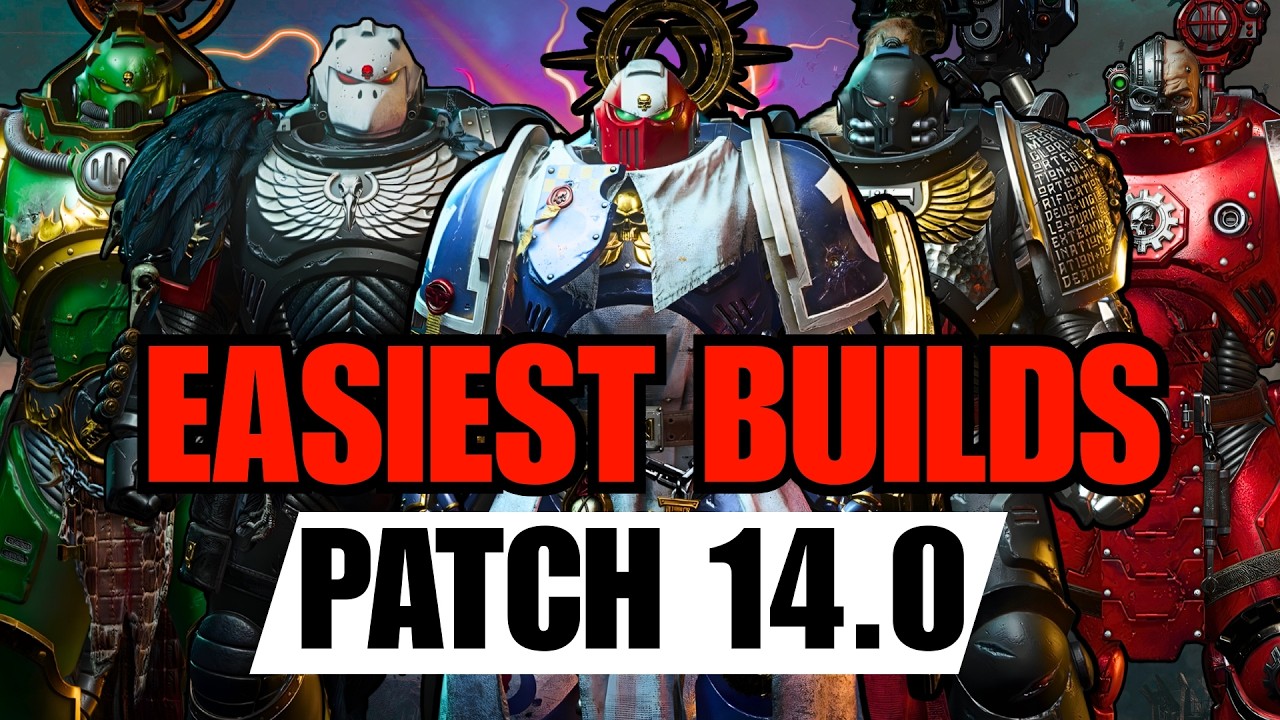
Tactical
The all-rounder class of the Space Marine 2 roster. Tactical carries the widest weapon pool in the game and projects Auspex Scan, a long-range targeting pulse that pins enemies, multiplies the damage they take, and stops them from calling reinforcements. Auspex makes Tactical the most beginner-friendly class because it converts raw aim into squad-wide damage uptime.
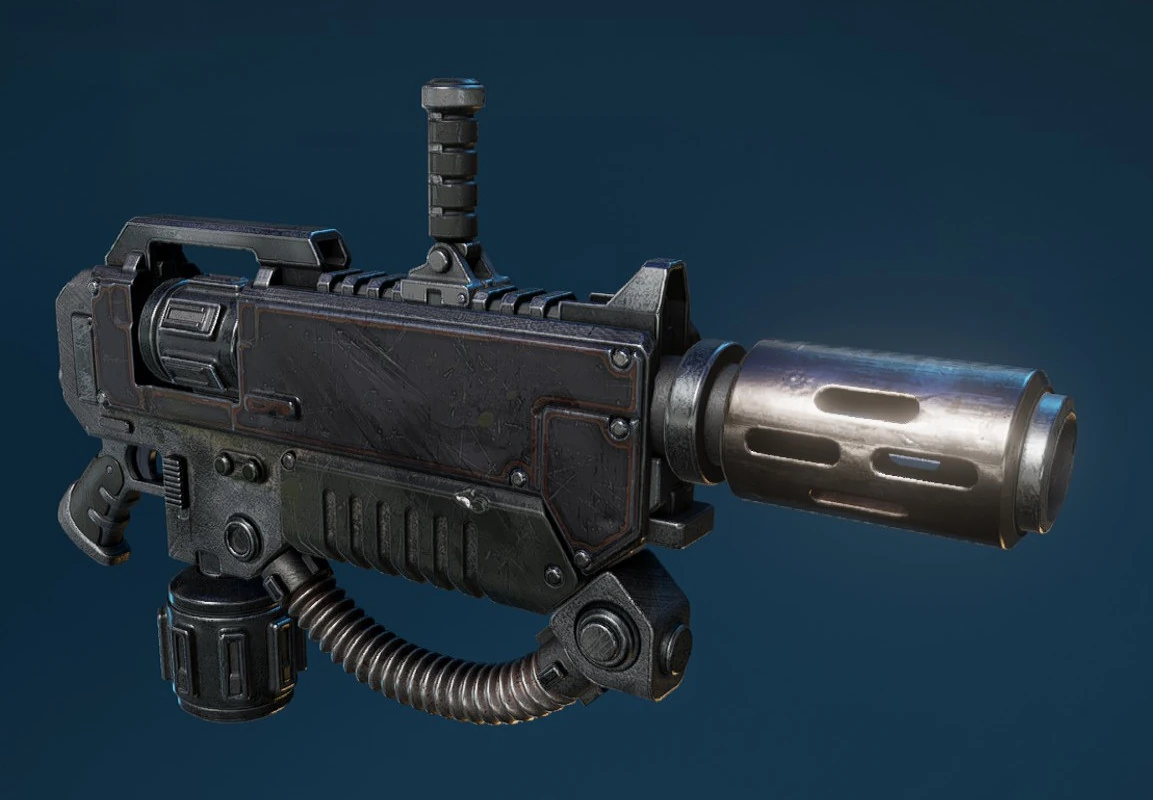
The reason this build is beginner-friendly. The Melta fires a short thermal cone rather than a projectile, so you do not have to aim it, and it staggers hard enough to interrupt Majoris and Extremis enemies. It is strong against both Chaos and Tyranids. Its one real weakness is a five-round magazine with a thin reserve, which the perk setup below is built entirely to solve.
Alternatives
How to Obtain
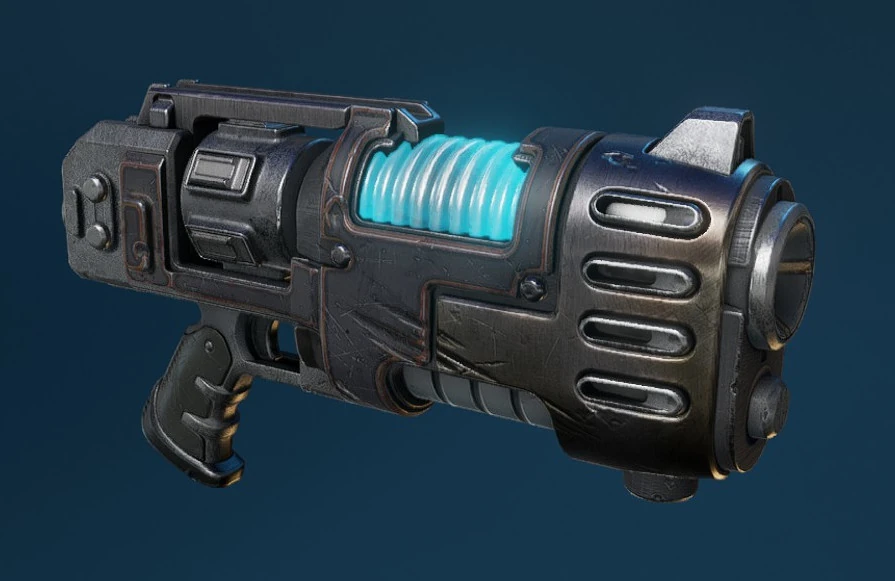
Combat Strategy
- ▸Pick your secondary by faction. Rate-of-fire Plasma Pistol against Chaos, Bolt Pistol against Tyranids.
- ▸Confirm Priority Targeting, Precise Calibration, and Expert Timing are all slotted. Expert Timing's duration penalty is only safe because Priority Targeting cancels it.
- ▸Take Plasma Boost only while running the Plasma Pistol. On a Bolt secondary, swap it to Balanced Distribution or Kraken Penetrator Rounds.
- ▸Fire the Melta into groups at close range. It does not need to be aimed, and the stagger interrupts incoming attacks.
- ▸Finish Majoris enemies rather than shooting them down. Every finisher returns Melta ammo through Decisive Reload and Emperor's Vengeance.
- ▸Throw grenades freely. Secure Stockpile refills the whole squad every 60 seconds.
- ▸Tap the secondary for anything the Melta cannot reach, especially flying targets.
- ▸Drop Auspex Scan on a boss or Extremis target, then close to Melta range and empty the magazine into the mark.
- ▸The mark ignores Minoris enemies with Priority Targeting slotted, so it will not be wasted on trash.
- ▸Land a melee finisher inside a group to trigger Radiating Impact, which one-shots Majoris enemies within 10m.
- ▸Heavy attacks with the Chainsword return double contested health through Swift Recovery.
- ▸Charged Plasma Pistol shots are the fastest contested-health refill in the kit.
- ▸At low health, string seven quick kills to trigger Rapid Health and climb back out of one-shot range.
- ▸Trick Shot returns an armour segment every 30 seconds. Armour damage-caps melee hits entirely, so never sit on full health with no armour.
- ▸Remember that Elite Hunter and Death Strike only apply while the pistol is actually equipped, and holding the pistol disables Decisive Reload on a finisher.
- ▸If you switch to a Pyreblaster, build fully into burn perks. Burn damage is capped at maximum on every weapon tier, so a low-tier Pyreblaster burns identically to a Relic one.
- ▸Concentrated Fire out-damages Expert Timing if you can keep the target inside the scan area. Move to it once Auspex positioning feels automatic.
Sources
Verified: 2026-09-04 · All content is original with full credit to original creators.