Pyreblaster Tactical Dominance
Patch 14 removed Auspex Scan's damage bonus from Burn damage. The build relies on that multiplier to amplify its burn ticks, so this nerf substantially reduces its Majoris execute speed and boss damage.
 TacticalPatch Nerf
Endgame Tactical loadout built around the Relic-tier Pyreblaster (Ophelian Liberation) and Auspex Scan stacking. Precise Calibration plus Concentrated Fire push damage taken to roughly 300% on marked targets, and Emperor's Vengeance refills the entire magazine on every Majoris kill, so ammo is effectively unlimited. Flame of Ascension regenerates armour off the burn ticks, which turns the normally-squishy Tactical frame into a tanky frontline that out-trades both hordes and bosses.
Damage
~300% damage on Auspex-marked targets (Precise Calibration + Concentrated Fire + Auspex base buff)
Survivability
Armour regenerates off every horde burn (Flame of Ascension), +15% HP (Fortitude), +40% Stimm heals (Resilience). Surprisingly tanky for Tactical
Boss
Pyreblaster + Auspex Scan combo nukes Hive Tyrants and Helbrutes despite the 20% burn-damage penalty on bosses
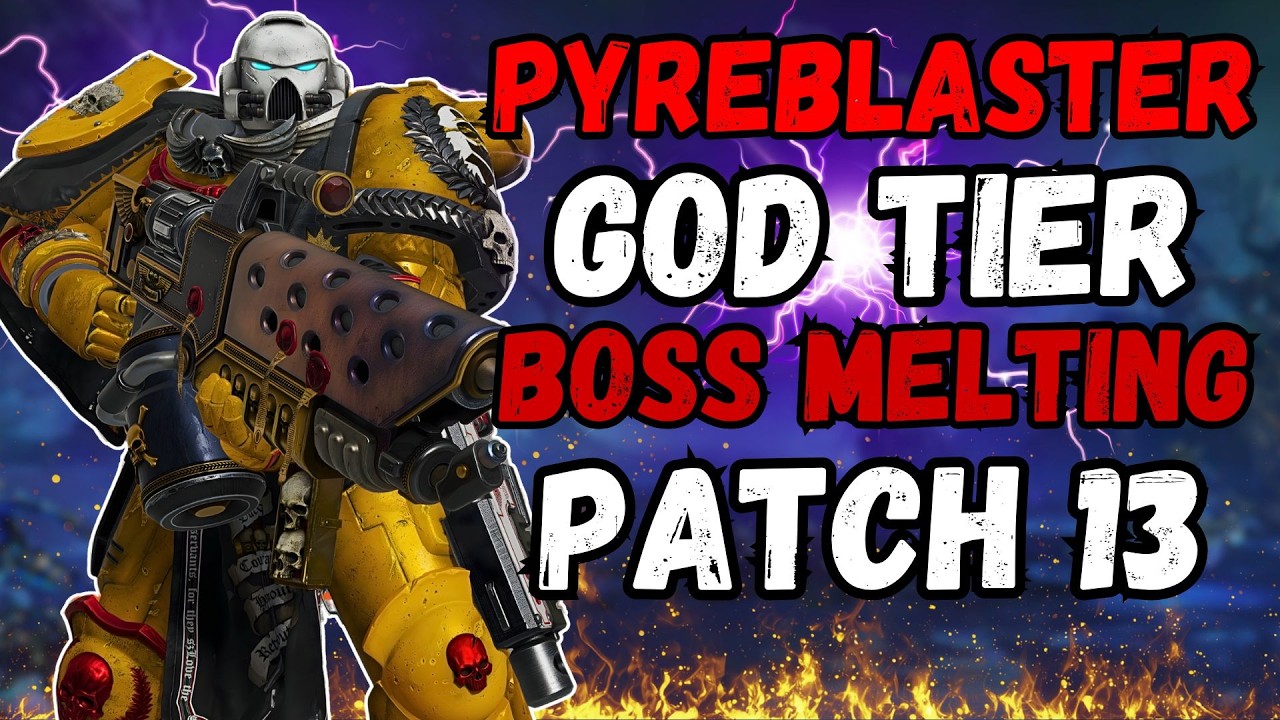
Tactical
The all-rounder class of the Space Marine 2 roster. Tactical carries the widest weapon pool in the game and projects Auspex Scan, a long-range targeting pulse that pins enemies, multiplies the damage they take, and stops them from calling reinforcements. Stacked with the right perks (Precise Calibration plus Concentrated Fire), Auspex becomes a 300% damage multiplier on marked targets, which is what lets this endgame setup nuke bosses in seconds.
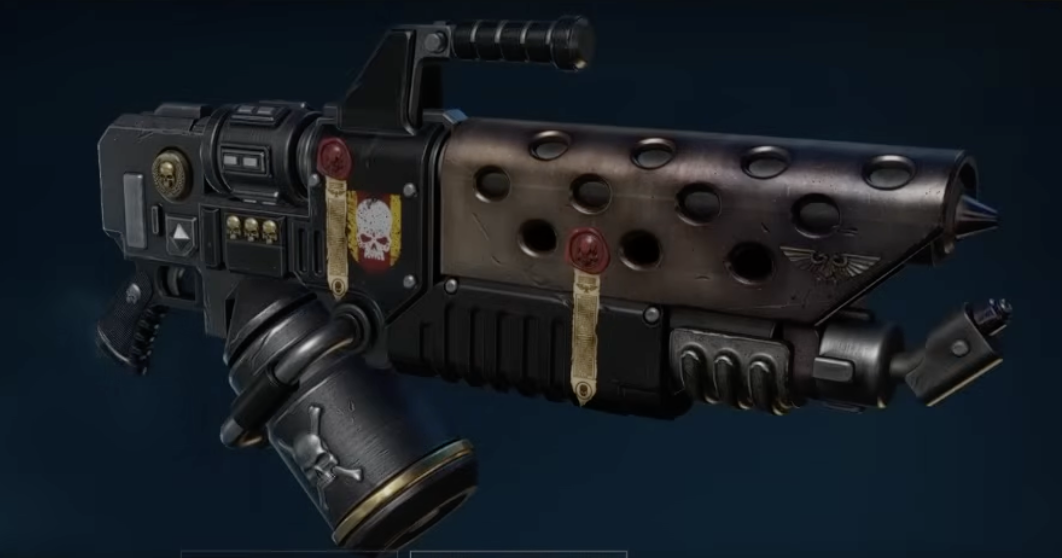
Relic-tier Pyreblaster variant tuned for venting speed (9 vs the standard 5). The faster the heat gauge clears, the longer you can hold the trigger on the next burst, which is what lets the direct-damage stat carry against bosses and Extremis targets even when burn is being dot-resisted.
How to Obtain
Combat Strategy
- ▸Confirm Ophelian Liberation is the active primary. The build's burn-driven armour loop depends on the Venting Speed Relic variant.
- ▸Verify Precise Calibration AND Concentrated Fire are both slotted. The ~300% damage multiplier on marked targets does not work without both perks.
- ▸Pre-position inside the squad's grenade range so Secure Stockpile keeps the team supplied with Krak or Melta Bombs for boss phases.
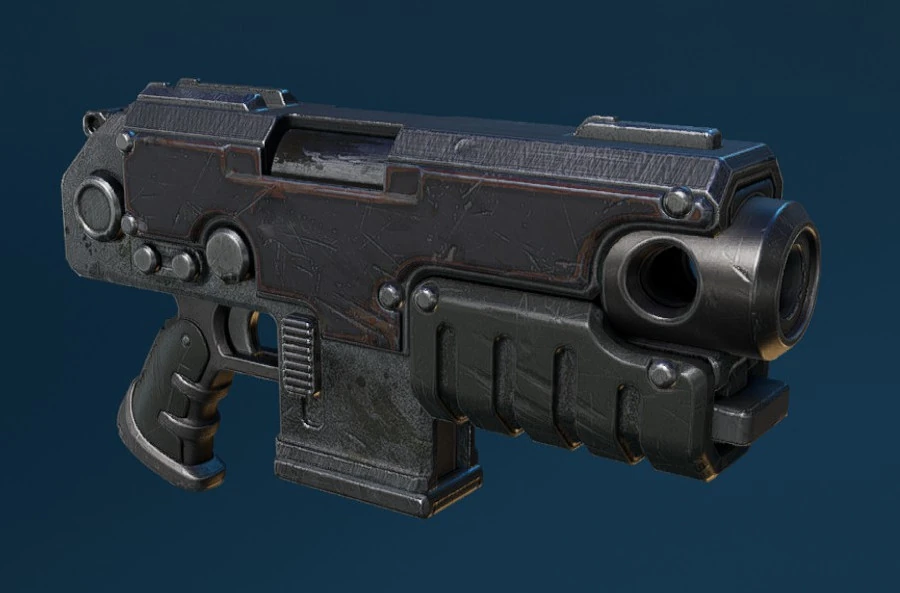
- ▸Tap-fire the Heavy Bolt Pistol at any enemy entering the Elite Scream animation. No Help Is Coming one-shots them on a headshot before reinforcements arrive.
- ▸Drop Auspex Scan on the highest-value Majoris or Extremis on screen. Precise Calibration and Concentrated Fire layer the damage multiplier to ~300%.
- ▸Open with a Pyreblaster cone burst. The marked target tips into execute status within seconds even before the burn ticks finish landing.
- ▸Cook every visible horde at close range. Flash Burn adds +20% damage inside 10 metres, Flame of Purification adds +20% melee damage taken on burning enemies (squad-wide).
- ▸Finisher every Majoris that drops to execute status. Emperor's Vengeance refills the Pyreblaster magazine and Radiating Impact detonates a 10-metre AoE that one-shots adjacent Majoris.
- ▸Keep Auspex Scan recycling on Extremis and Terminus targets. Vital Data refunds 50% of the charge per kill, so uptime is high.
- ▸Tap the HBP for any sniper or reinforcement-caller outside the Pyreblaster's effective range. Perpetual Penetration doubles the value of every shot through a line.
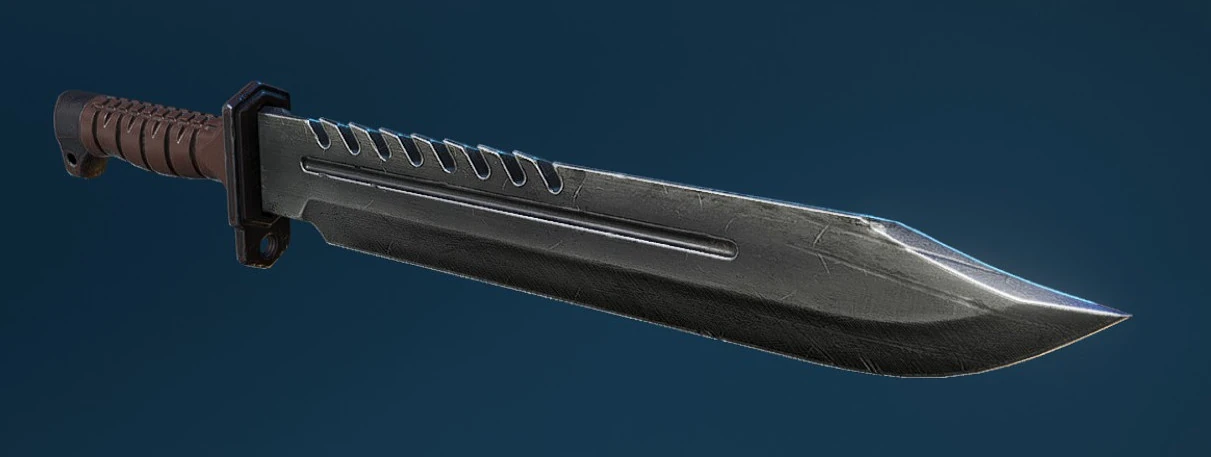
- ▸Chain Gun Strike off a parry with the Ardent Edge. Relentless Pursuit grants +25% ranged damage for 10 seconds afterwards.
- ▸Drop Auspex on the boss or Terminus, then commit to close range and pour Pyreblaster fire into the marked target. Direct damage plus burn ticks plus the ~300% damage multiplier melts most boss phases.
- ▸Spend grenades freely during burst windows. Secure Stockpile is refilling them on a 60-second tick whether you use them or not.
- ▸Burn at least 5 enemies in a wave to trigger Flame of Ascension's armour restore (30s cooldown). The Pyreblaster's horde clear keeps the trigger primed constantly.
- ▸Parry with the Ardent Edge to absorb melee pressure. Knuckles damages the attacker on every riposte, even on enemies that normally do not grant Gun Strike windows.
- ▸Use Medicae Stimms early. Resilience boosts their restore by 40%, so a single Stimm at 30% HP recovers the full bar.
- ▸Carry the Plasma Pistol for any Chaos-heavy mission. Stagger uptime on Chaos Marines and Chaos Spawn outweighs the loss of reinforcement-call one-shots.
- ▸Pyreblaster takes a 20% burn-damage penalty on bosses. Compensate by leaning harder on the Auspex-marked direct-damage shots instead of relying purely on burn ticks.
- ▸Acuity stacks off Pyreblaster ticks when aimed at the head model. Hold the trigger on a Majoris head for the full 15% headshot damage uplift before swapping targets.
- ▸Stay aware of Chaos Mini-gun Terminators. Their stun-lock can lock you out of the parry loop, so swap to range and let teammates aggro them in those rooms.
Sources
Verified: 2026-05-27 · All content is original with full credit to original creators.