Pyreblaster Tactical Starter
Patch 14 removed Auspex Scan's damage bonus from Burn damage. The build's burn ticks no longer gain the Auspex multiplier, reducing its Majoris execute speed and boss burst below the levels described.
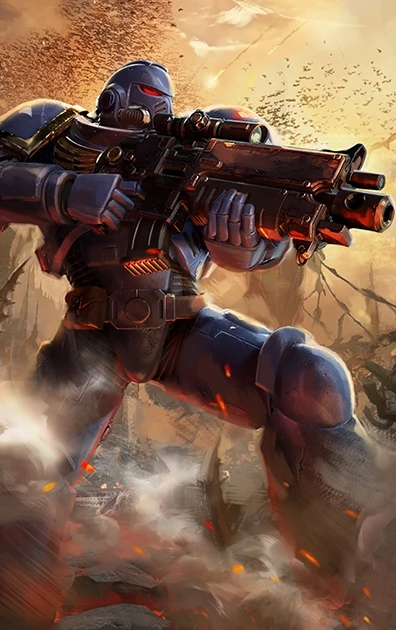 TacticalPatch Nerf
A starter Tactical loadout built around the Pyreblaster and Auspex Scan. Burn hordes into execute states, mark Majoris and Boss enemies for massive damage taken debuffs, and keep the whole squad fed grenades every 60 seconds. The entire build runs off the top row of the Tactical perk tree, so it comes fully online around Level 10 and ramps cleanly into the higher tiers without re-speccing.
Damage
+10% Primary (Balanced Distribution), +20% ranged after finisher (Emperor's Judgment), Auspex multiplier on marked targets
Survivability
Stagger immunity after perfect parry, 10% HP heal on 7 rapid kills sub-30%, Battle Focus auto-marks on every parry
Boss
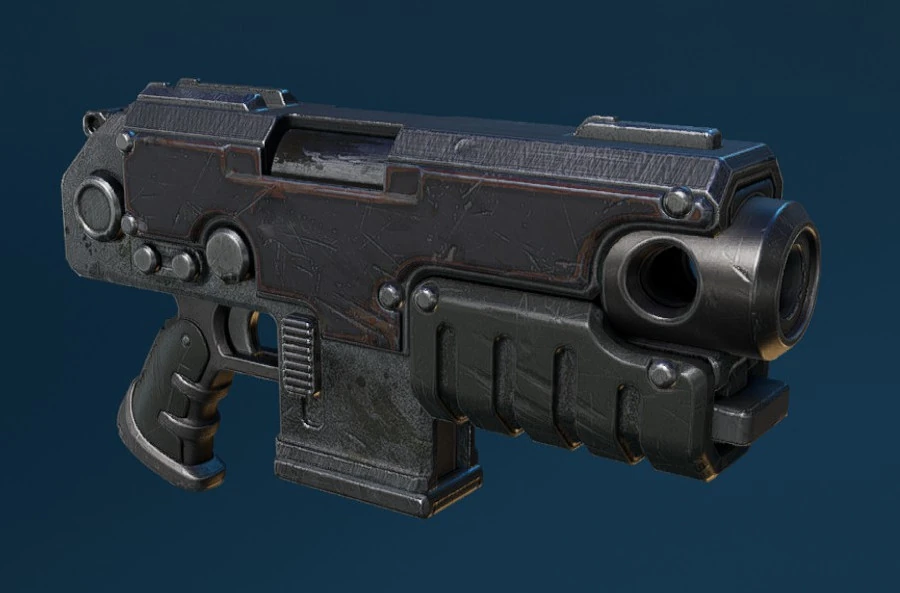
Pyreblaster plus Auspex Scan melts Hive Tyrant-tier bosses. Heavy Bolt Pistol covers distance phases
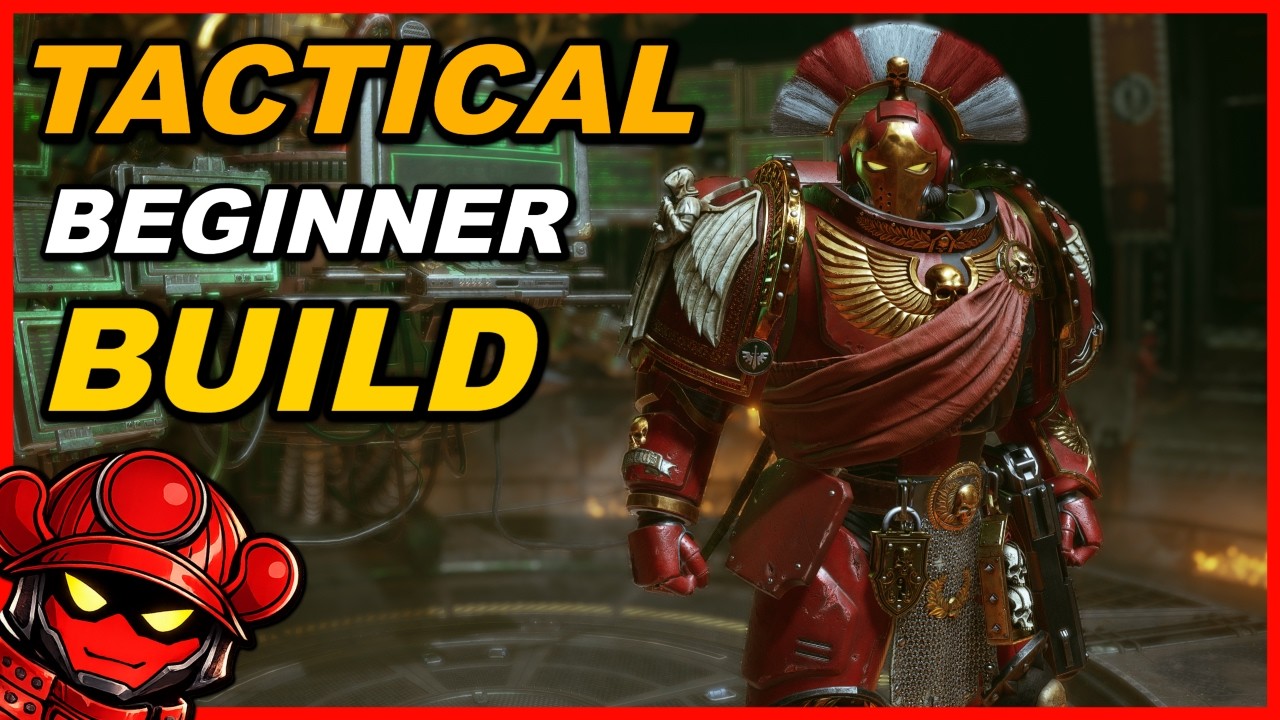
Tactical
The all-rounder class of the Space Marine 2 roster. Tactical carries the widest weapon pool in the game and projects Auspex Scan, a long-range targeting pulse that pins enemies, multiplies the damage they take, and stops them from calling reinforcements. Auspex makes Tactical the most beginner-friendly class because it converts raw aim into squad-wide damage uptime.
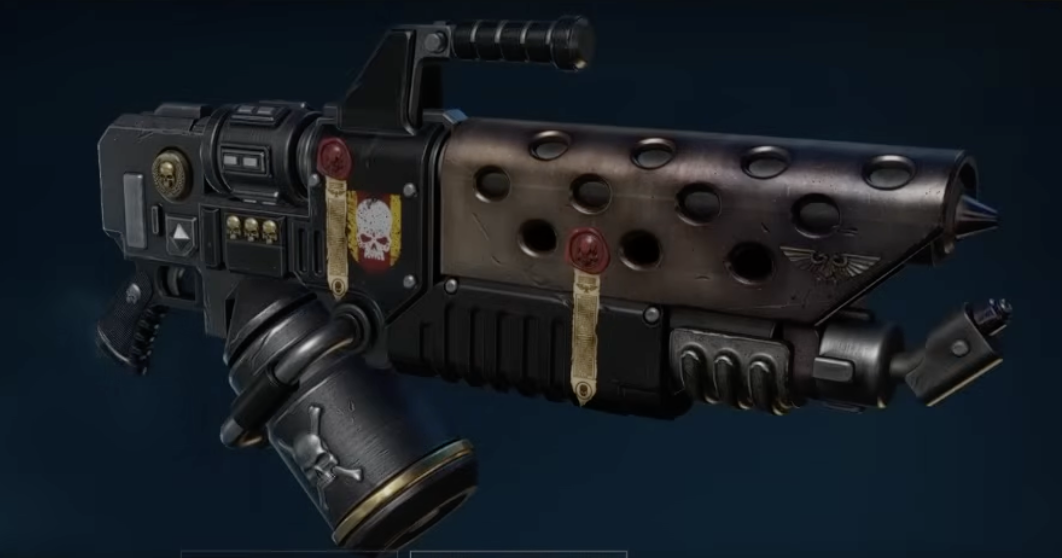
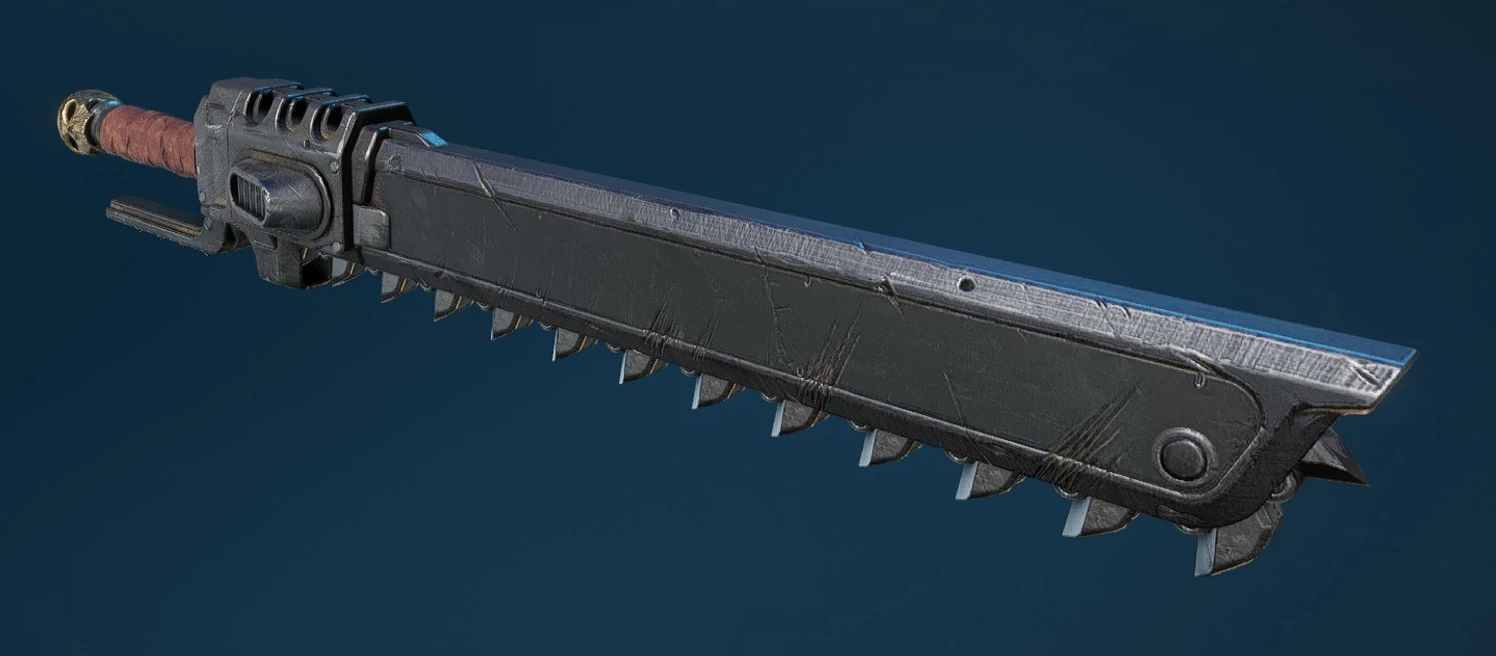
Close-range incendiary primary. Ignites everything in a cone in front of you and chains targets into execute status almost instantly. The Beta variant trades a magazine size bump for the highest Venting Speed in the Master-Crafted tier (7 vs Alpha's 5), so you spend more time cooking and less time waiting on the heat gauge to flush.
How to Obtain
Combat Strategy
- ▸Confirm Pyreblaster is the active primary and Heavy Bolt Pistol is the secondary. The build's two damage loops depend on having both equipped.
- ▸Verify all six starter perks are slotted (Balanced Distribution, Heightened Vigour, Emperor's Judgment, Secure Stockpile, Vital Data, Battle Focus). Missing any of them breaks the rotation.
- ▸Stock Frag Grenades. Secure Stockpile refunds one every 60 seconds, so spending freely is correct.
- ▸Identify the highest-priority Majoris on screen and hit it with Auspex Scan first to maximize the damage-taken debuff.
- ▸Immediately follow with a Pyreblaster cone burst. Auspex plus burn ticks puts most Majoris into execute status in seconds.
- ▸Finisher the executed target to trigger Emperor's Judgment, which auto-reloads the Pyreblaster and grants the +20% ranged damage buff before the next group lands.
- ▸Cook hordes with the Pyreblaster, letting Eternal Flame and Potent Flame carry damage ticks after enemies leave the cone.
- ▸Chain finishers on every executed enemy to keep Emperor's Judgment's reload and ranged buff uptime as close to permanent as possible.
- ▸Tap the Heavy Bolt Pistol for snipers, distant Majoris, and any target outside the Pyreblaster's range. Perpetual Penetration means lined-up groups count as double-shots.
- ▸Spend a Frag Grenade every time you see a tight cluster. Secure Stockpile is refilling them on a 60-second tick whether you use them or not.
- ▸When health drops below 30%, lean into the Pyreblaster's horde clear. Rapid Health restores 10% HP after 7 rapid kills, which is trivial to trigger inside a wave.
- ▸Use Swift Recovery on the Chainsword to recover contested health by counter-attacking after taking damage, instead of disengaging.
- ▸Parry or block any Majoris that closes on you. Battle Focus marks them automatically, Heightened Vigour grants stagger immunity for 10 seconds, and you can keep firing through the swing chain.
- ▸Hold Auspex Scan on the boss whenever the cooldown is up. Vital Data refunds 50% of the charge when the target is Extremis or Terminus tier, so uptime is high.
- ▸Let teammates draw aggro and circle to the boss's flank. The Pyreblaster's close-range burn out-damages most other primary options once Auspex is applied.
- ▸Save Signal Jammer for the moments the boss tries to summon reinforcements. Marked enemies detonate on the attempt and clear the screen.
- ▸Swap to the Heavy Bolt Pistol for any phase that opens distance between you and the boss. The pistol's Gun-Strike damage is the highest secondary in the game and breaks Extremis stances reliably.
Sources
Verified: 2026-05-27 · All content is original with full credit to original creators.