Infinite XP, Gold, and Abyss Gear
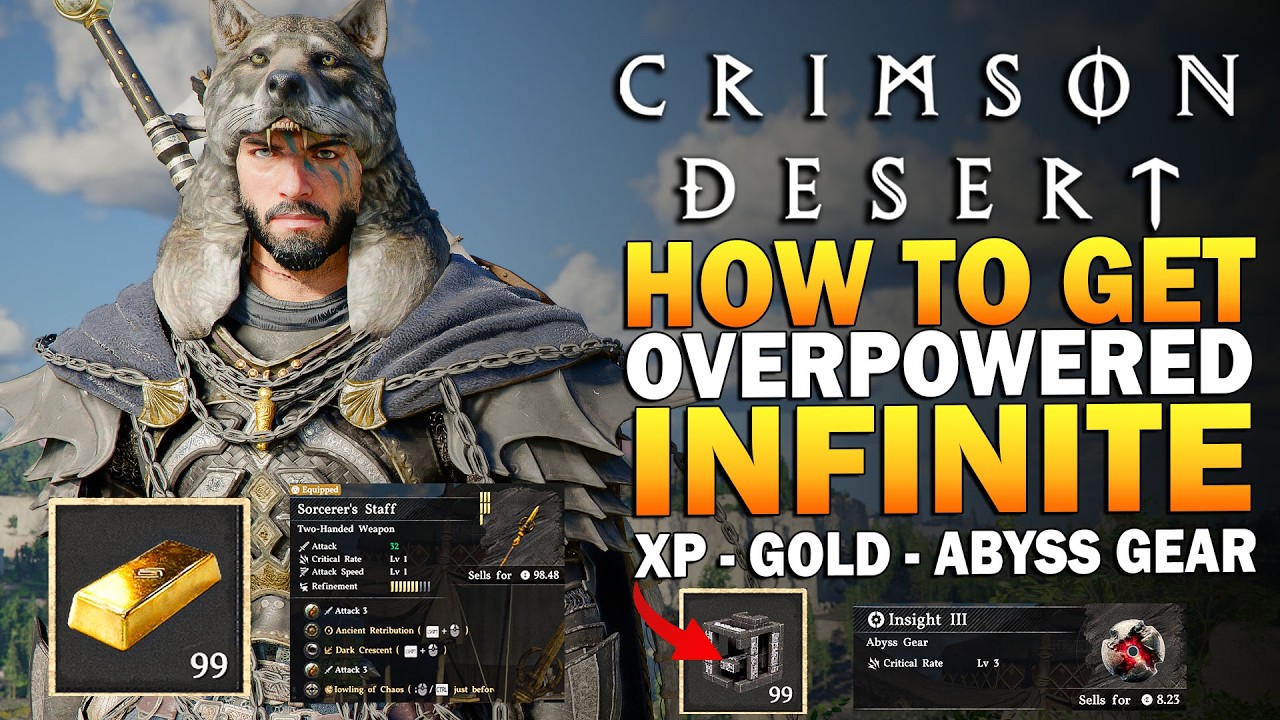
TagBackTV's rundown of the best farming spots in Crimson Desert: the densest mining deposit in the game, a nearly infinite XP and Abyss Gear farm at Drakesfall Castle, a backup XP farm for when that one is unavailable, and a gold bar pickpocket loop that funds every upgrade you'll want. It closes with all four witch locations and the socketing rules that actually determine how much your Abyss Gear does. Crimson Desert patches frequently, so some of this, especially the pickpocket loop, could get adjusted in a future update.
Before you start
- Chapter 3 reached, for Elowen, the first witch, to appear
- The Demeniss region unlocked, since the mining spot, Drakesfall Castle, and the gold bar farm are all in or near it
Power Up, Then Mine the Best Deposit in the Game
Extract and Fuse Your Existing Base Gear First
Before farming anything new, go to any witch and extract the base level one versions out of whatever Abyss Gear you already have equipped. You can select several at once. Everything extracted can be fused into stronger versions later, so there is no reason to leave gear sitting unextracted.
Mine the Dense Mineral Node Cluster in Demeniss
The densest concentration of minerals found anywhere in the game sits in Demeniss, right next to a fast travel point, which makes it worth the initial trip to unlock. It is near the legendary horse location, just south of it once you pick up the nearby fast travel point. The cluster includes Epidote, Copper Ore, Azurite, Scolecite Ore, four Garnet nodes needed for Abyss Gear crafting, and even Iron Ore. Use your pickaxe to mine it properly rather than a heavy attack or a skill like Force Palm. Proper mining yields two of a resource per node, while using an attack or skill to mine only yields one, so the shortcut actually costs you half your resources.
Infinite XP, Gold, and Abyss Gear: Drakesfall Castle
Reach Drakesfall Castle and Start the Crab Farm
Take the teleporter to Drakesfall Castle and climb inside. When you first arrive, the castle will be full of small crabs clustered around deposits of bismuth rather than soldiers. Killing these crabs drops bismuth, Abyss Cells, or Abyss Gear cores directly, meaning you can stock up on Insight, Attack, Destruction, and other Abyss Gear types purely from drops, no crafting required. You also gain XP the whole time, which unlocks Abyss Artifacts as you go. This is the single best all-in-one farm in the game for XP, gold, Abyss Gear, and Abyss Cores.
Never Kill the Large Spawner Crabs
Among the small crabs you'll occasionally run into a much larger crab. These are the spawners, and killing one permanently stops that area from producing more of the small crabs, exactly like killing a spawner in Minecraft. As long as you leave the large crabs alone, the farm resets indefinitely and you can run it for as long as you want. Kill one by accident, and soldiers move into the area instead with no benefit to you, permanently locking you out of the farm on that save. Avoid using an AOE build here specifically, since it makes accidentally hitting a large crab far too easy.
Backup XP Farm: The Elite Enemy Field
Farm the Elite Cluster Near the Mysterious Energy Site
If Drakesfall Castle is locked out or you specifically want raw XP, head to the location marked with a mysterious energy anomaly. Do not interact with or resolve the anomaly itself, since that risks locking the spot down the same way killing a large crab does at Drakesfall. The area is packed with an elite-tier enemy that pops up out of the ground in large numbers and dies quickly to heavy attacks, making this probably the highest concentration of easy elites anywhere in the game. Killing them grants a large amount of XP, along with drops like Epidote, Garnets, Abyss Cells, and Abyss Gear, though Drakesfall Castle still edges it out specifically for Abyss Cells and Abyss Gear. Any Abyss Cells you collect can be opened in your inventory for a seed, which can then be planted at your farm and left to grow over a few in-game days.
Unlimited Gold Bars: Pickpocketing Nobles
Mask-and-Bump Nobles at the Animal Wildlife Park
Gold bars sell for 190 silver on their own, or 500 at the bank. Just south of Demeniss is the animal wildlife park, which has the highest concentration of nobles found anywhere in the game so far, and nobles occasionally carry gold bars on them. This isn't a bug or glitch, it is just taking advantage of a legitimate pickpocketing mechanic, so it may never get patched out, though there's no guarantee either. Explore with your mask unequipped so you don't draw attention, and only put it on once you've picked a target. Put your weapons away, walk into the target to trigger a pickpocket, and immediately sprint out of the zone before the theft meter runs out to avoid a bounty. Unequip your mask again right after and keep searching. Targets showing a gold bar icon instead of a pouch icon will drop an actual gold bar when pickpocketed, though plenty of targets will only have a regular copper pouch, so expect a mix. If the top area of the park comes up empty, fast travel out and back in to refresh it and keep working the loop.
Unlock the Witches
Meet Elowen, the Witch of Wisdom, at the Start of Chapter 3
Elowen, the Witch of Wisdom, is the first witch you'll meet, appearing right as you enter Chapter 3. Her related quests show up under your faction quests from that point on. She lives in Witchwoods, and since it's the easiest of all the witch locations to reach at any point in the game, it's worth returning to her specifically whenever you need to buy or craft Abyss Gear rather than trekking out to the others.
Warm Up Bari, the Witch of Kindness, in Payloon
The next witch is found stranded in the snow on the mountain near Payloon. Light the brazier in front of her to warm her up, and she'll become your friend for good. Her actual shop is not at that first meeting spot, but a little further north. Bari sells the Ancient Shell Ring, which grants stamina regeneration, attack speed, and attack, along with an Abyss Artifact, a Faded Abyss Artifact, and the Swift, Ascent, and Haste gear blueprints for attack speed, climb speed, and movement speed respectively, useful if you want to build a dedicated exploration set.
Rescue Lyselia, the Witch of Humility, at Beighen
Head north of Demeniss to the small settlement of Beighen, where you'll find Lyselia, the Witch of Humility, hanging from a bridge. Help her up to trigger her quest. Her actual shop is a considerable trek south, inside a cave in the Serpent Marsh. There is a fast travel point on the cliff above it, and from there you just need to run through the cave and turn left around the corner to find her. Her blueprints cover Fortification, Aegis, and Fortitude, plus an engraved silver necklace and a copper necklace, good picks for a crit rate or tankier defensive build.
Give a Copper to Reach Areciel, the Witch of Strength
Last of the four, Areciel, the Witch of Strength, is found in the mountains north of Demeniss, near the Tash Corp marker on the map. A beggar boy nearby will ask for money, so give him a copper. She arguably matters most if you're building around damage, since she carries the best crafted Abyss Gear of any witch, covering attack, crit rate, and attack speed. A fifth and final witch exists too, but she won't actually appear at her home until the sanctums for Bari, Lyselia, and Areciel have all been cleared.
Gear Socketing Rules and Rerolling with Special Synthesis
Know Your Socketing Rules Before You Farm
Attack, crit rate, and attack speed bonuses only apply to whichever weapon you currently have equipped in your hands. Socketing those stats into a one-handed weapon does nothing while a two-handed weapon is equipped, and vice versa, so only invest in the weapon you actually plan to main. The same logic applies to armor. You cannot socket attack, crit rate, or attack speed into body armor at all, and while the game lets you slot them into gloves or boots, those bonuses only apply during unarmed combat, punching for gloves and kicking for boots specifically. Unless you're building around unarmed combat, every armor piece, helmet included, should be socketed with defense-oriented Abyss Gear instead.
Reroll Abyss Gear with Special Synthesis and Save Scumming
Once you've made a save, you can experiment with Special Synthesis, an advanced upgrade path that rolls a tier one, tier two, or greater Abyss Gear at a 4% rate using a base item plus a substitution material. Use crafting materials you don't mind losing, ideally ones you can make easily, as the base, and whatever spare Abyss Gear or resources you have on hand as the substitution. If the result isn't what you wanted, simply reload the save you made right before rerolling and try again. Since the odds are low, save scumming this way is the practical way to fish for a specific tier three Abyss Gear.