Mortal Shell 2Get OP in One Hour: Three Shells, a +4 Axe, and a +4 Crossbow
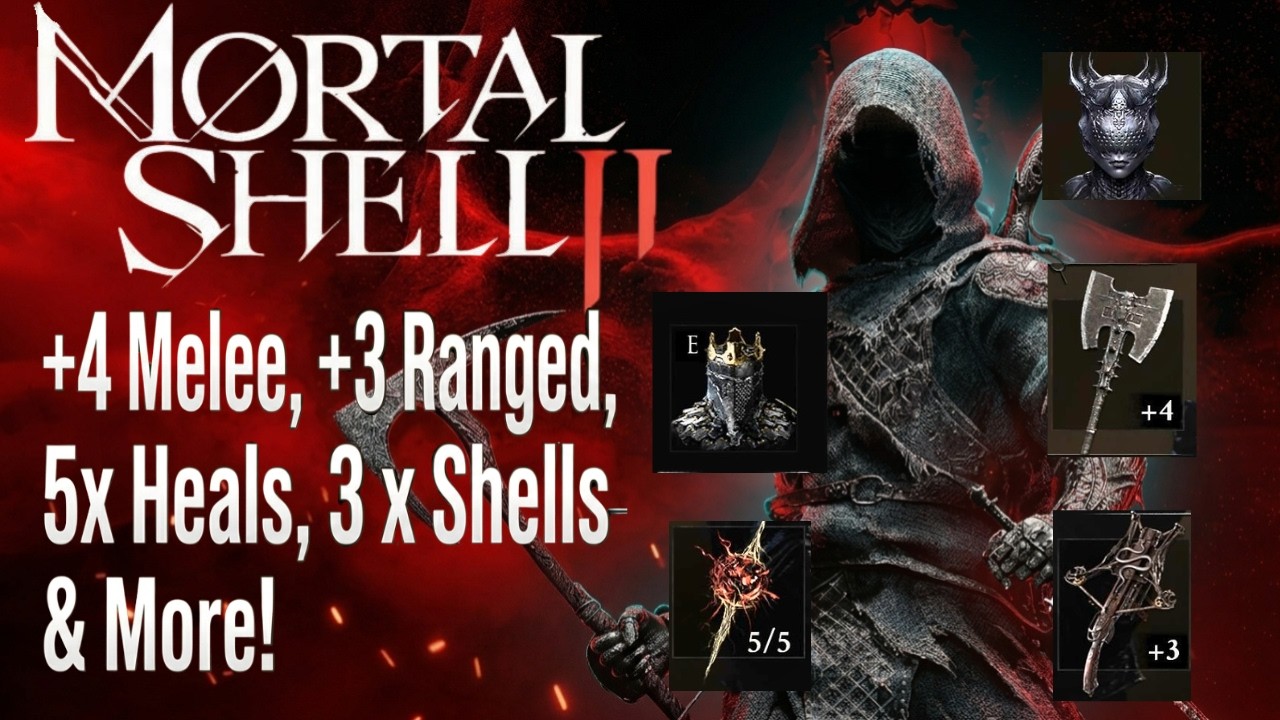
A complete power route that starts the moment the prologue ends and finishes with three Shells, a +4 melee weapon, a +4 sidearm, five heal charges, and a pile of leftover upgrade material. The trick that makes it work is the Veteran's Battle Axe, which drops at +4 already, so every coin and every scrap of Ventrium you collect goes into the Forgotten Crossbow instead of catching your melee weapon up. Along the way you pick up Tiel for the invisibility that makes a lethal trap dungeon survivable, Proxima as the early tank you actually fight in, and finally Eredrim from behind The Warden. Nothing here is a farm or an exploit. It is a route, and the order is load-bearing, since several steps are gated behind Glimpse counts and Ova you can only have if you did the earlier ones.
Before you start
- A finished prologue. The route starts at the first moment you have free movement
- Nothing else. This is designed for a fresh character and assumes no prior progress
- Patience for two genuinely nasty detours. The King's Crypt is wall to wall traps and exploding enemies, and the Citadel of Penance run ends in a real boss fight
Items / Buffs
Prologue Exit and Marrow Keep Setup
Grab the Coin of Mammon on your way out
The very first pickup of the route sits on the path out of the prologue area. The Coin of Mammon is a tradable worth 500 coins, and 500 coins this early is a meaningful head start on the Mether's Pulse upgrades you will be buying in about ten minutes. Do not use it for anything else and do not forget it is in your bag. From here just follow the path forward until the game drops you at your base area, then head inside Marrow Keep.
Go up the staircase to unlock your map
Take the staircase all the way up inside Marrow Keep and speak to the woman at the top. This opens your map for the first time, and the two things worth noting on it immediately are a pair of unknown Shell markers. Both are easy pickups and this route collects both. Down at the Shell area you will see your current collection, but do not spend anything there yet. Everything you would spend now is worth more after the next few steps.
Rest at the beacon and level straight to fourOptional
Walk forward to the beacon and immediately level up. You have enough to reach level four right away, which buys Shell health, Shell ability damage, and critical damage. There is no reason to bank the Gloom. This game gives you plenty of chances to earn more and none of them care whether you saved. On the way out you can drop down for a Seal that helps with parries. That is genuinely optional. If your parrying is unreliable, skip it and lose nothing that matters to this route. There is also a nearby map piece that marks the crossbow location, which this guide reaches by a known path anyway.
Use the Gloom Siphon on the unblemished Ovum
Head up into the open world and find the unblemished Ovum, then run it through the Gloom Siphon. That converts it into a chunk of Gloom plus two more Ova. Ova are the currency the Siphon runs on and they are what eventually buys Mether's Breath, the fast travel and corruption cleansing ability that the back half of this route depends on completely. Skip the rest of this area for now and go straight to the elevator.
Learn what ravens do, then travel to Widow's Overlook
Worth understanding before you go anywhere. Your map shows Shells and any beacons you have unlocked, but large parts of it stay dark. Ravens are what fix that. Reaching a raven and collecting it reveals the surrounding region, showing you what is and is not accessible. Get in the habit of taking every one you pass, because this route crosses several areas where knowing the layout saves a lot of wandering. For now, activate the travel point with Ruk and go down to Widow's Overlook.
Widow's Overlook: Tiel and the First Trial
Duck into the beacon for a free Glimpse
First stop on arrival is inside the Widow's Overlook beacon itself, which holds a Glimpse. Glimpse is the resource Zhirelle takes back at Marrow Keep to raise a Shell's bond tier, its point capacity, its recovery efficiency, and to unlock Memories. You need five of them to get the Shell this route ends on, so treat every single one as mandatory. Grab it and leave immediately.
Walk around the boss and loot the arena
Come back to the surface, turn around, and go the opposite direction from the one that looks correct. There is a boss down here, the Great Arbiter of Flesh, and you are not fighting it yet. Give it a wide berth and it will not commit. What you want is the Gloombound Flame and the Revered Gland sitting nearby, plus one more pickup on the way past. The Revered Gland is a heal charge, which matters immediately. The Gloombound Flame is worth more than the video lets on: placed at the altar atop Marrow Keep it summons Thestus, who lets you raise the game's difficulty for better rewards.
Take the ramp to the wooden structure and claim Tiel
From the arena head up the ramp toward the building, go around the left side, and push through to the wooden structure you can see ahead. Tiel the Acolyte is here. You are not going to fight in Tiel and you will abandon the Shell within twenty minutes, but Lingering Shadow is the reason to take it now. It makes you undetectable, and the next dungeon on this route is a trap corridor where being able to walk past enemies instead of fighting them is the difference between a clean run and losing your Shell repeatedly. Switch to Tiel before you move on.

Clear the Corrupted Statue trial for the Retribution Stone
Double back to the beacon and take the path up to the trial north of it. Only two enemies spawn to start, so it is more manageable than it looks, though without an upgraded weapon it will test you if your parrying is shaky. Dying here costs you very little, since you can recover your Shell on the next attempt. The reward is the Retribution Stone, a Tarstone that attaches to your Shell and raises riposte damage by 10%. If you are a confident parry player that is a large buff this early. If you are not, take it anyway and revisit it later.
Trade a Weltcap to Gorf, then bank a heal charge
Pull the Weltcap off the tree past the trial, then take the right hand path to find Gorf. Hand him the Weltcap and he gives you a Marsh Pearl, which sells for 2,000 coins. That single trade is worth four times the Coin of Mammon and it is the reason you can afford the Mether's Pulse upgrades later. Grab the Ventrium on the left, sweep the coins by the cart, and run past the burning enemies rather than fighting them. Cross the bridge, revitalize the beacon on the left, and spend your Revered Gland on Mether's Pulse capacity while you are resting.
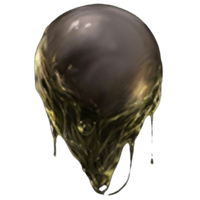
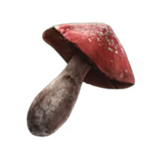
Proxima and the Veteran's Battle Axe
Claim Proxima, the second Shell on your map
Head up the ramp from the beacon, run past the enemies with a left turn, and continue up. A spider like creature guards the way and dies to a couple of shots in the face. Go inside and down to the gate, which opens to reveal Proxima the Broodseeker, the second Shell marker you saw when your map unlocked. Take the Shell and sit through her memory. Do not switch to her yet. You still want Lingering Shadow for what comes next, and Proxima becomes your main Shell the moment the axe is in hand.

Slide down to The King's Crypt and ride the elevator
From outside Proxima's tomb go behind it and aim for the tree in the background. Below is The King's Crypt. There are a lot of enemies on the approach and the crypt itself is genuinely difficult, so slide down, move fast, and get inside rather than trying to clear the surface. Ride the elevator down. This is exactly where Tiel earns its keep, because you can go invisible and simply not participate in most of what follows.
Turn the crypt's traps against its own enemies
The crypt is wall to wall traps, which is an advantage rather than a problem. Lure the first enemy into the opening trap and it is deleted outright. Once that fire burns out, pull the next two in one at a time. It is technically possible to do both together and much easier not to. Further in there are broken crates hiding a burning enemy that explodes on death: break the crates, aggro it, run, and let it take out whatever is nearby. The same trick works again past the wooden plank below, and again on the group of four burners near the loot. Dodge the floor traps rather than tanking them, and if you get knocked out of your Shell just heal and carry on. It is not a run ender.
Take the Veteran's Battle Axe and leave immediately
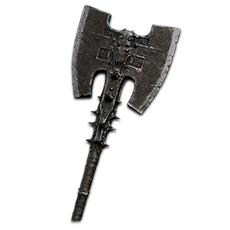
Drop through the last hole, aiming for a ledge to cut the fall damage if you can. There is another large enemy waiting down here and you should not fight it. Grab the Veteran's Battle Axe and hit the return to entrance option. This is the single most valuable pickup of the route: it comes out of the ground at +4. Because you never have to spend materials bringing your melee weapon up to standard, everything you collect from here goes into the crossbow instead, which is how you finish the hour with two +4 weapons rather than one.
Rest, then swap to Proxima with the axe equipped
Rest up and change both your Shell and your weapon. Proxima plus the Veteran's Battle Axe is the loadout you run for the rest of the route. Her Biosampler is a hook that either drags an enemy to you or drags you to it, deals lightning damage, and staggers. Grafted Armor gives a 15% chance to negate up to half the damage of a hit. That combination makes her a genuine early tank, and the axe supplies damage far above what anything else available right now can reach.
Cleanse, Sell, and Bond
Cleanse the beacon, carefully
Enter the beacon to cleanse it. This one is unpleasant, not because the enemies are hard but because the place is packed with explosive barrels and it is very easy to kill yourself with your own damage. Move deliberately. The payoff is Glimpse, which you need for the final Shell. The axe does obvious work here, and the large enemy partway through can be softened with three shots to the face before you close, which takes roughly half its health and builds enough for an easy finish.
Loot the chest, cleanse the corruption, take the Ovum
Pick up the coins, open the chest for more Gloom and coin, then cleanse the corruption and collect the Ovum before returning to the beacon. Doing this run also unlocks the Blackridge area and hands you a Glimpse, with a second one sitting right next to you. Count as you go. You need five Glimpse total for the Shell this route ends on, and this is where the count starts moving quickly. Teleport back to Marrow Keep once you have swept the room.
Siphon your Ova, then sell and buy at Merrick
Back at the Keep, run everything through the Gloom Siphon again. Then go right to Merrick, the merchant. Sell the Coin of Mammon for 500 and the Marsh Pearl for 2,000. One warning from the video that is worth repeating: if Merrick's shop refuses to open, leave to the overworld and come back. There is a dialogue bug tied to having Proxima equipped. With the money in hand, buy a Revered Gland and a Glimpse from his rare findings.
Spend the Glands on Mether's Pulse capacity and efficiency
Head to a beacon and put your Revered Glands into Mether's Pulse. Take capacity up by one and efficiency up by one. Mether's Pulse is this game's healing flask, and the number of charges you carry is the single biggest determinant of whether the back half of this route is comfortable or miserable. This is what gets you toward the five heals the route advertises.
Take your Shell to bond tier two with Zhirelle
Now go to shell bonding. This is Zhirelle, the Shell Keeper, not Merrick. She is the one who takes Glimpse. Deepen your bond and with four Glimpse spent you hit tier two, which opens up Memories and expands the abilities available to the Shell. This is the mechanic the whole Glimpse count feeds, and it is why the route is so insistent about picking up every single one you walk past.
The Crossbow Run
Go back and kill the boss you walked around
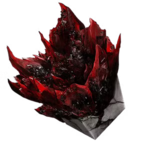
Return to Widow's Overlook and double back to the Great Arbiter of Flesh, the boss you gave a wide berth an hour ago. With a bonded Shell, better armour, and the axe, the fight is a different proposition entirely. The one thing to respect is the grab, which does enormous damage and will end you outright if you are careless. Everything else you can trade with. He drops the Arbiter's Prize, a Bloodcurse infusion Tarstone, plus a Glimpse. The creator's own verdict on the Prize is that it is not the most worthwhile thing, and for this route he is right, though it is the centrepiece of other Mortal Shell 2 builds.
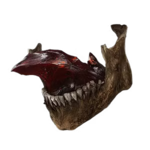
Loot the Wounding Stone near Tiel's grave
Head back toward where you found Tiel and climb toward the higher ground. There is Common Moonshine on the floor and a bone chest nearby holding the Wounding Stone, a combat Tarstone for your primary weapon that inflicts Perforation on every melee hit. Sweep the coins while you are here. It is a short detour off a path you are already walking, so there is no reason to skip it.
Run Martyr's Tomb and clear the trial for a Glimpse
Head into the dungeon and call the elevator. The shielded enemies here fold to a running heavy attack with the axe, which is the answer to most of this dungeon. Break through the door, take out the enemy above, collect your Gloom, and continue up. Be careful around the cage, where an enemy is waiting that is worth using Proxima's lightning on. Going forward from there drops you down, which is where you want to be anyway. At the bottom is a trial. The enemies are awkward but a running heavy carries the fight. Clearing it rewards another Glimpse. Take the elevator back up.
Light the candles at Mushroom Village for the Auspicious Stone
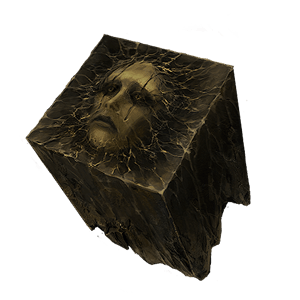
Head to Mushroom Village and find the gates. There is a chest in the middle that only opens once you have lit the candles around it, and the witches guarding the area have to go first. The first candle is on the platform just ahead. Then go left and up, collect the effigy around the corner, and deal with the witches there to light that one. The next candle is roughly a 180 degree turn, sitting on the left. With those done, run back into the middle and down to the chest for the Auspicious Stone, which raises melee critical chance and scales to 10%, 15%, and 18% as you upgrade it. Equip it right away.
Cross the bridge for Ruk's map piece
Run back toward the beacon just before Proxima's tomb, the spot with the stones you will recognise. From there head across the bridge. A shielded enemy stands in the way and the axe removes the problem. On the far side Ruk gives you a map piece that opens up the surrounding region, including the location of the corrupted gate boss. This is the raven mechanic paying off exactly as described at the start. Take the Gloom from the enemy and move on down the bridge, circling around and clearing the enemies as you go.
Find the Damp Key and open the way to the Forgotten Crossbow
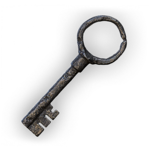
You will reach a sarcophagus you can ignore and a locked way forward. Go behind the board, break it, and collect what is inside. Looking through the opening now shows the doors open, so go through and drop into the next dungeon. Work down the elevator, kill the witch ahead, and deal with the enemy after it, whose moveset you will recognise from the boss you just fought. Raise the gate by breaking the boxes to reach the pressure plate. Take the next elevator, then run past everything rather than fighting it: right, through the platform, down the stairwell, dodging as you go. Head up the building, around the enemies, and behind the house that unlocks access to the Damp Key. Drop off the edge, heal if you need it, climb the stairwell, and double back to the gate. Open it with the Damp Key and the Forgotten Crossbow is inside. Touch the middle to warp out before the poison catches you.
Loot Martyr's Tomb for upgrade materials, then see Franz
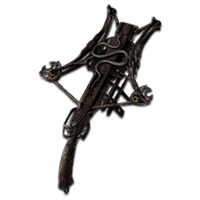
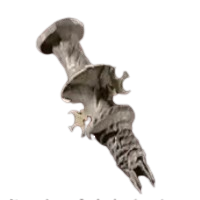
Make your way back toward where you found Tiel. On the route there, by the church near the first boss arena, is the dungeon holding the materials that upgrade the crossbow. Go down and loot it thoroughly. More snake headed enemies fall to running heavy attacks, and there is Gloom and Ventrium throughout. Another gate opens from a pressure plate reachable via the cart next to the rope. Inside are the Obsidian Lathe and the Parasitic Stone, with an enemy guarding them. Break the latch above to get out. Level up at a beacon and return to Marrow Keep. Give Franz the Etching Needle, which you already have, and the Obsidian Lathe, which is what unlocks sidearm upgrades at the Tarforge at all. Then take the Forgotten Crossbow to +4. You can afford it precisely because the Veteran's Battle Axe never needed the materials.
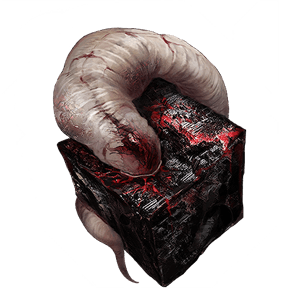
Mether's Breath and the Route to Eredrim
Collect the map piece outside Martyr's Tomb
Use the teleporter to return to Widow's Overlook and double back once more. Come up outside Martyr's Tomb, go around and up, and take the map piece there. Opening your map now shows the pathway through, and zooming out marks exactly where the corrupted gate sits. This is the piece of information the rest of the route runs on, so do not skip it and try to navigate by memory.
Cleanse the Mushroom Village beacon for the Emberseed Stone
Head back into the mushroom area and up. The gates here lead somewhere you cannot use yet, so check the map, come back, and go north instead. That gets you the Mushroom Village beacon. Cleanse it. Go down, take out the large enemy, which dies far more easily than the last one of its kind, and ride the elevator. Break through the wall and open the chest for the Emberseed Stone, which consumes 20 Resolve to infuse your sidearm with Burn. On a +4 crossbow that is a real addition. Push on, handle the big enemy by managing your spacing, clear the room, cleanse the corruption, and take the Ovum. Before you leave the beacon, equip the Forgotten Crossbow.
Clear the Hall of Illusions and kill Vrannic
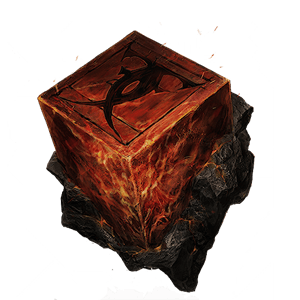
Take a right from the beacon, round the rock, up the platform, left then right across the big bridge. A very hard enemy waits on it and this is where the upgraded crossbow proves itself, so let it. Across the next bridge is another beacon to revitalize and cleanse, and beyond that the Hall of Illusions. The mechanic here matches the sarcophagus puzzle from earlier: look through a mirror and the blocked pathway opens, then walk through it. Repeat that twice more, and at the statue the path opens again. Look up to spot the boss and drop down to start the fight with Vrannic the Grand Illusionist. Take out the duplicates, keep running and circling, and let the crossbow work. He drops the Volatile Fragment, which makes enemies killed by ranged attacks explode for splash damage, scaling from 15 up to 35. Cleanse the corruption and take the Ovum.
Siphon your Ova for Mether's Breath
Go and trade your Ova in at the Siphon. What comes out is Mether's Breath, and it changes the shape of the game. It lets you travel quickly between any revitalized beacon you have visited, and it cleanses corruption walls. That second property is the whole reason this route works: it is how you reach the final Shell without having to fight through the gate boss guarding the ordinary path.

Cleanse the corruption wall past Blackridge Pass
Head to Blackridge Pass. From the beacon turn around, go back over the bridge, and into an area you will recognise. Clear the enemies, including a fiery group, then sweep any loot you would rather not leave behind. Use Mether's Breath on the corruption to clear it. Past that, deal with the flying enemy, which will make your life difficult if you let it, and the one after. The creatures in the next section die easily to the crossbow. Up the ramp there is a large tree enemy you should go around rather than through, and more to skirt on the left, because what you want is the beacon. Rest there and recover.
Kill the Bloodcursed Lithopod for the Citadel Gate Lever
From the mushrooms, run off the edge and land a light attack to slam the ground. Run around to the left, and behind the rock you will find the trigger for a boss fight against the Bloodcursed Lithopod, an oversized version of the regular Lithopod sitting at the entrance to the Ravaged Hideout in Gloomshade Grove. Killing it drops the Citadel Gate Lever, which opens the main gate to the Citadel of Penance. It also opens the Ravaged Hideout dungeon, which you do not want right now. Get back to your beacon, either by dying or by climbing out, whichever you find quicker, and rest to recover everything.
Open the Citadel and beat The Warden
Leave the beacon and head for the Citadel of Penance. One enemy guards the gate and after the Lithopod it is a formality. Place the lever, pull it, and the gate lifts. Take a right, drop off the corner into the hole below, and face toward the guard. Taking him out is easier than working around him. From there jump across and you arrive in the open arena with The Warden in the middle. He is a larger version of the Crescent Knight you have already been fighting all route, which means his moveset is familiar even though his numbers are not. Beat him and the area turns red.
Claim Eredrim the Venerable
With The Warden down, claim the Shell. Eredrim the Venerable is the payoff for the whole hour and the reason a lot of players call him the best all round pick. Shoulder Bash lunges into enemies for break damage, which is what you want against the heavy hitters. Ethereal Diapason creates a blinding shockwave that deals break damage to everything in range, and break damage is enormously valuable in this game. The passive is the real prize though. Executioner lets you finish enemies at low health and builds Slaughter stacks from ripostes, with each stack raising the health threshold at which an execution becomes available. Stack enough and you are executing enemies at medium health. Stacks are lost on resting or being severed, so play around holding them.
