Pawn-Shielded Sniper Archer
 Archer
An endgame Dark Arisen Archer for Hard mode built as a glass cannon. You give up almost all defense for damage and Stamina, then hand the danger to a main pawn built as a Fighter tank that soaks hits and holds every enemy's attention. With the aggro on your pawn, you stand back and empty Cataract Shot and Myriad Shot into weak points while Battle Frenzy and Critical Shot multiply the damage. Cloudburst Shot is the rescue button when your pawn gets grabbed.
Damage
Weak-point finishers boosted by Battle Frenzy IV, Critical Shot, and Lethality. One-shots trash with Cloudburst
Survivability
Glass cannon. Survives by having the Fighter pawn hold nearly all aggro
Boss
Cleared the dragon, the final boss, and its empowered Hard-mode version
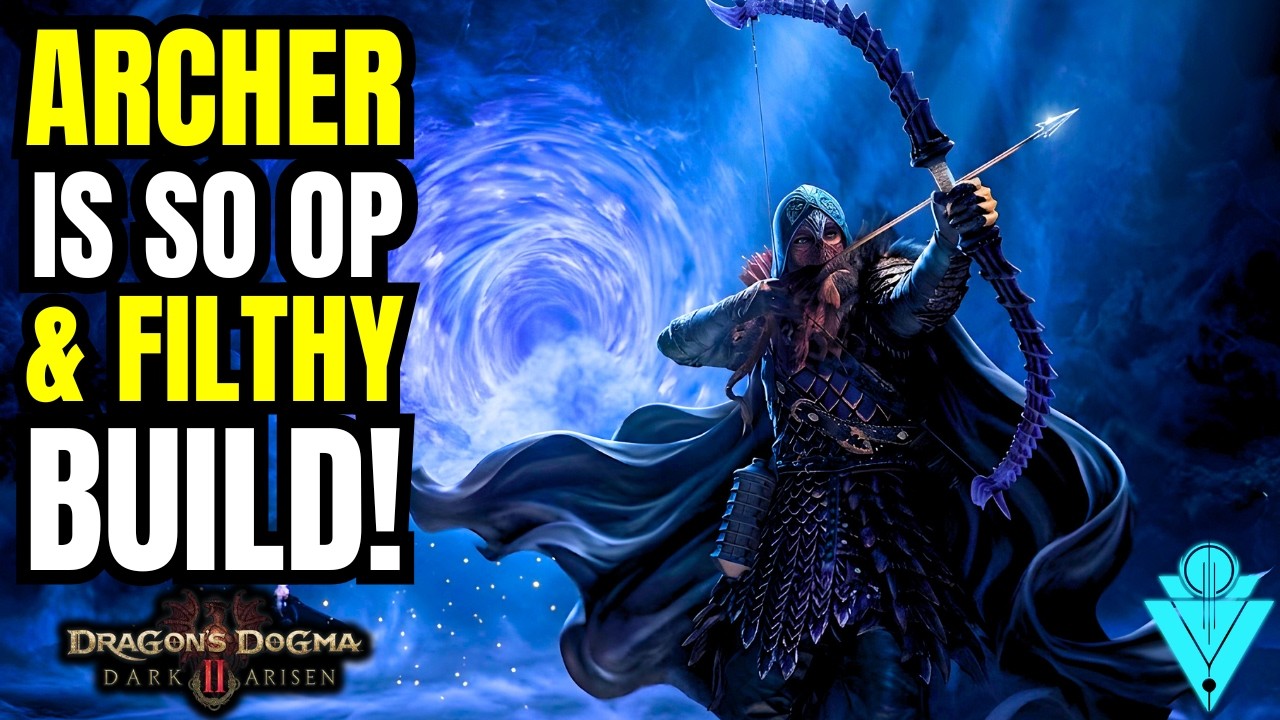
Archer
Archer is the shortbow vocation, built to deal precise damage from a distance by hitting weak points and peppering targets with rapid volleys. It can also load special arrows that soak, burn, or blight foes, which sets up elemental combos for the party.
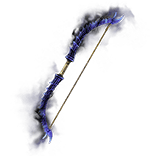
Relic bow and the source of nearly all your damage. As with every relic, the Special Skills matter more than the base bow. You want the Cataract Shot and Myriad Shot upgrades for your two finishers, plus Battle Frenzy and Critical Shot to multiply every weak-point hit. Rolls are RNG, so the creator's own bows were not perfect either.
Target Rolls
- ▸Cataract Shot— Mandatory. Upgrades Tempest Shot into a faster volley that ends in a heavy final arrow. One of the strongest finishers you have, but it roots you in place, so save it for targets that are not moving.Wiki
- ▸Myriad Shot— Upgrades Manifold Shot to fire even more arrows at once. The creator's preferred fourth roll for long-range burst.Wiki
- ▸Battle Frenzy IV— Mandatory. Raises damage dealt and damage taken. You should rarely be targeted, but if you are, heal immediately. Battle Frenzy III works if that is what you roll.Wiki
- ▸Critical Shot— Raises bow damage against weak points. Weak-point hits are where this build's damage comes from.Wiki
- ▸Stampede Shot (Alternative)— Upgrades Cascade Shot into a wider spread of arrows. Strong, but it plays like a shotgun and pulls you closer than this build wants to be.Wiki
How to Obtain
Same logic as the armor: Stamina is damage. A bigger pool means more Cataract and Myriad Shots before you run dry. Any Stamina ring works here.
How to Obtain
Ammo for the freeze combo. Drench a target, then hit its weak spot with a big shot while your bow carries Ice, either from an Ice-element roll or a Mage's frost enchantment. A drenched target hit with Ice freezes almost instantly. Needs Drenching Shot or Deluging Shot equipped, so swap one in when you want this setup.
How to Obtain
Give your Fighter pawn the strongest sword it can use that rolls Aggressive Recovery. Its other rolls matter much less. Every hit has a chance to heal the pawn, which lets it hold aggro without a healer.
How to Obtain
Your pawn's armor exists to make it the biggest, toughest target on the field. Stack aggro and survivability. Gigantus's Vim makes the pawn take more Magick damage, but Fighters guard and deflect spells well enough that the extra Stamina is worth it.
Your armor pieces don't matter on their own, and resistances are an afterthought. What you want from every piece is Stamina Boost, because more Stamina means more skills fired before you have to back off. The creator's own set only reached Health Boost III and Stamina Boost I, so take what the appraisal gives you and keep chasing Stamina.
Combat Strategy
- ▸Build your main pawn as a Fighter tank with Provoking Aura, Ring of Disfavor, and Provocation all stacked for aggro.
- ▸Stack Stamina everywhere on yourself: Stamina Boost armor, a Stamina ring, Endurance, and Exaltation.
- ▸If you hire a second pawn, check its augments and skills for aggro tools. Two pawns holding aggro makes the fight far smoother.
- ▸Carry Drenching Arrows and bring an Ice enchant or an Ice-element bow if you want the freeze combo.
- ▸Wait for the pawn's Shield Drum to pull the enemy, then open fire from as far away as you can aim accurately.
- ▸Use Cataract Shot when the target is pinned or locked onto your pawn, since it roots you in place.
- ▸Use Myriad Shot on targets that keep moving, because you can still turn while firing it.
- ▸Drench a target with Drenching Arrows, then hit the weak spot with an Ice-imbued finisher to freeze it almost instantly.
- ▸Watch your pawn. When it gets mobbed or caught in a grab, fire Cloudburst Shot to wipe the trash and free it.
- ▸Avoid over-damaging an enemy your pawn is not fighting, or you will steal the aggro from it.
- ▸If an enemy does turn on you, heal right away. Battle Frenzy means even a single hit is dangerous.
- ▸Pop the occasional consumable on the pawn, but Aggressive Recovery and Intrepidity usually keep it standing on its own.
- ▸Once the trash is cleared, switch to the elite or the monster so your pawn can take its aggro.
- ▸Against the empowered final boss on Hard, stay out of AoE range of your pawn. Spells aimed at it will one-shot you.
Sources
Verified: 2026-10-28 · All content is original with full credit to original creators.