The Most OP Astrologer Start
 Astrologer
A sequence-breaking Astrologer rush that teleports to Caelid in the first hour to land Meteorite Staff and Rock Sling, then races to 52 Intelligence for Lusat's Glintstone Staff and charged Comet. Meteorite Staff deletes early-game bosses on gravity damage, then Sleep Pot setups let charged Comet triple-cast through mid-game encounters. Glass cannon by design: Spirit Jellyfish draws aggro while you stay at max range, and Radagon's Soreseal patches enough Strength to swing a Mace for the Greyoll rune farm.
Damage
Charged Comet 3-shot via Sleep Pot. Rock Sling melts early-game bosses in 2-3 casts
Survivability
9 Vigor early. Glass cannon, relies on Jellyfish aggro and max-range positioning
Boss
Deletes Putrid Avatar and mid-game field bosses in seconds. Trivializes Godskin Noble via Sleep
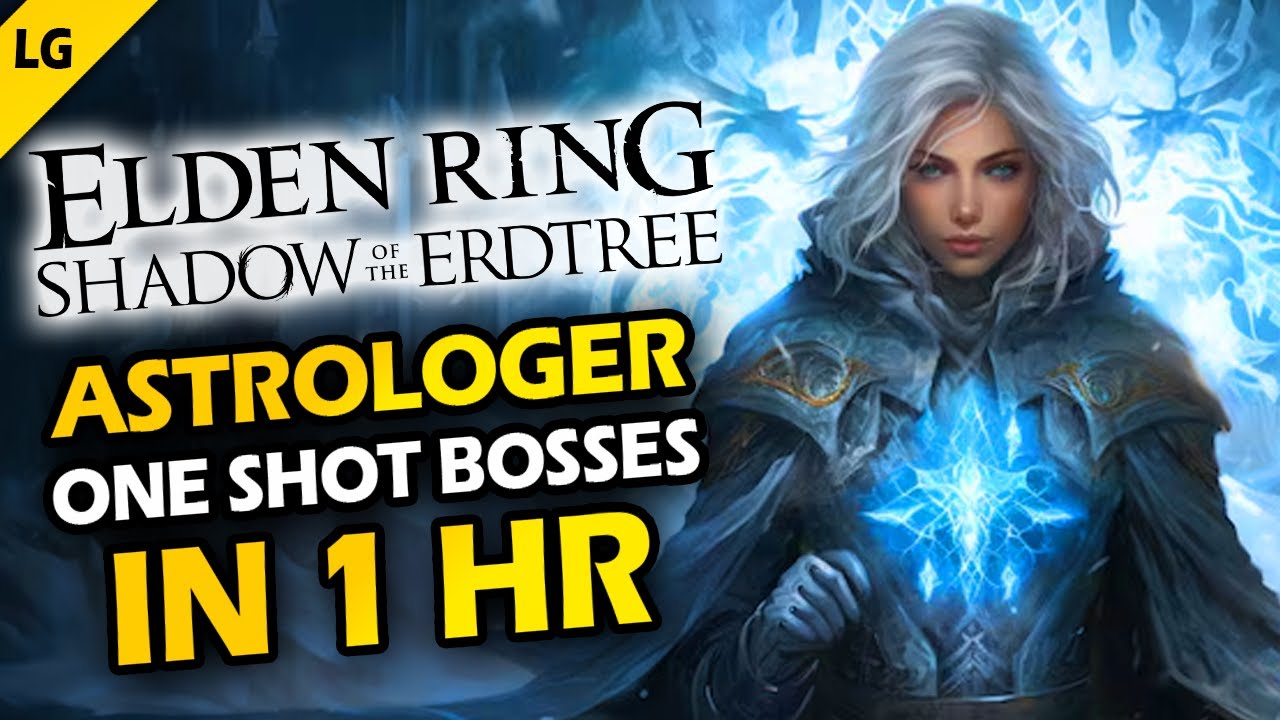
Astrologer
Astrologer is Elden Ring's mage starting class. It begins with 16 Intelligence and a Glintstone Staff so you can cast sorceries from level 1, which is the entire point of this build. The early Int head start is what makes the Meteorite Staff usable on arrival and the rush to 52 Int for Lusat's Glintstone Staff possible inside the first hour. Low Vigor and Endurance mean you have to play at range, behind a summon, and lean on Sleep setups against anything that hits hard.

The endgame staff for this build and the highest-scaling Glintstone Staff in the game. Requires 52 Intelligence to wield, which is exactly the Int floor the build rushes toward. Boosts every sorcery's damage at the cost of +50% FP per cast, so always pair with the Cerulean Hidden Tear physick for free FP windows.
How to Obtain

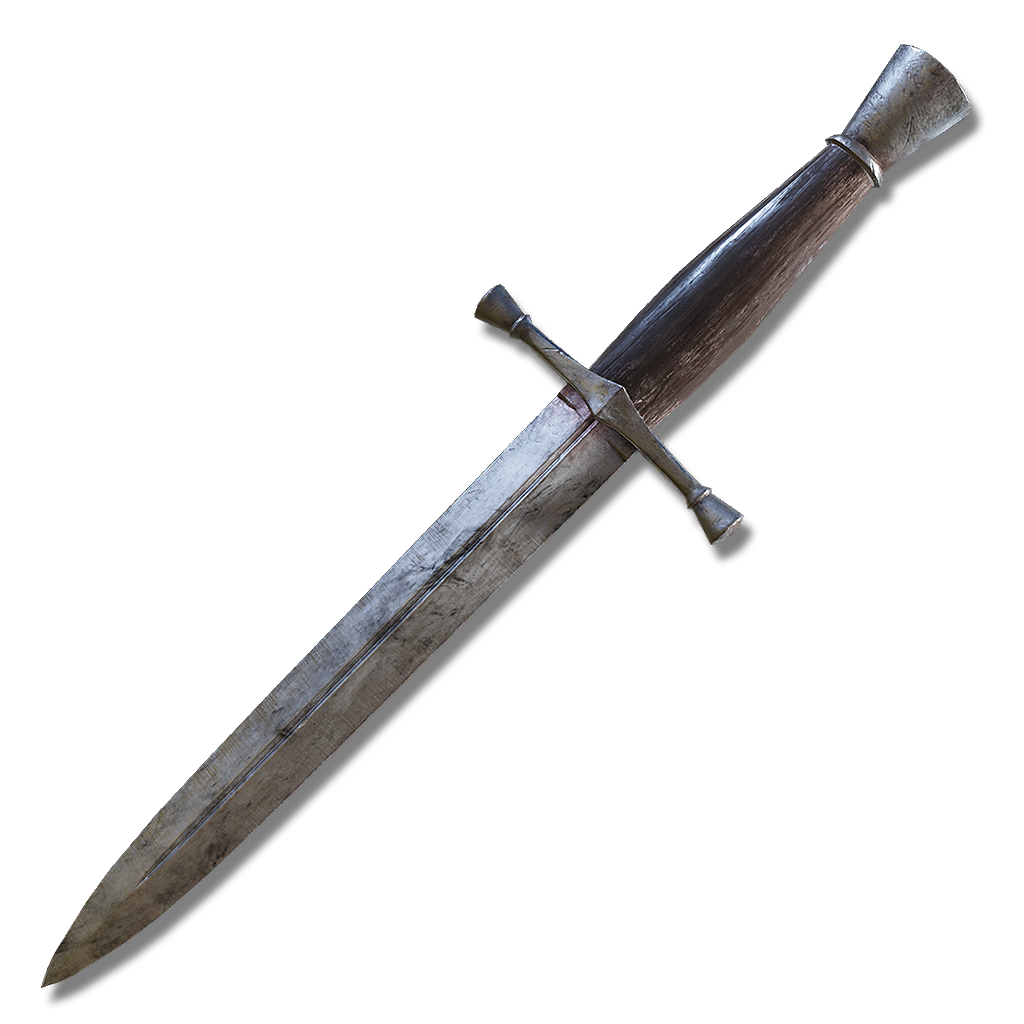
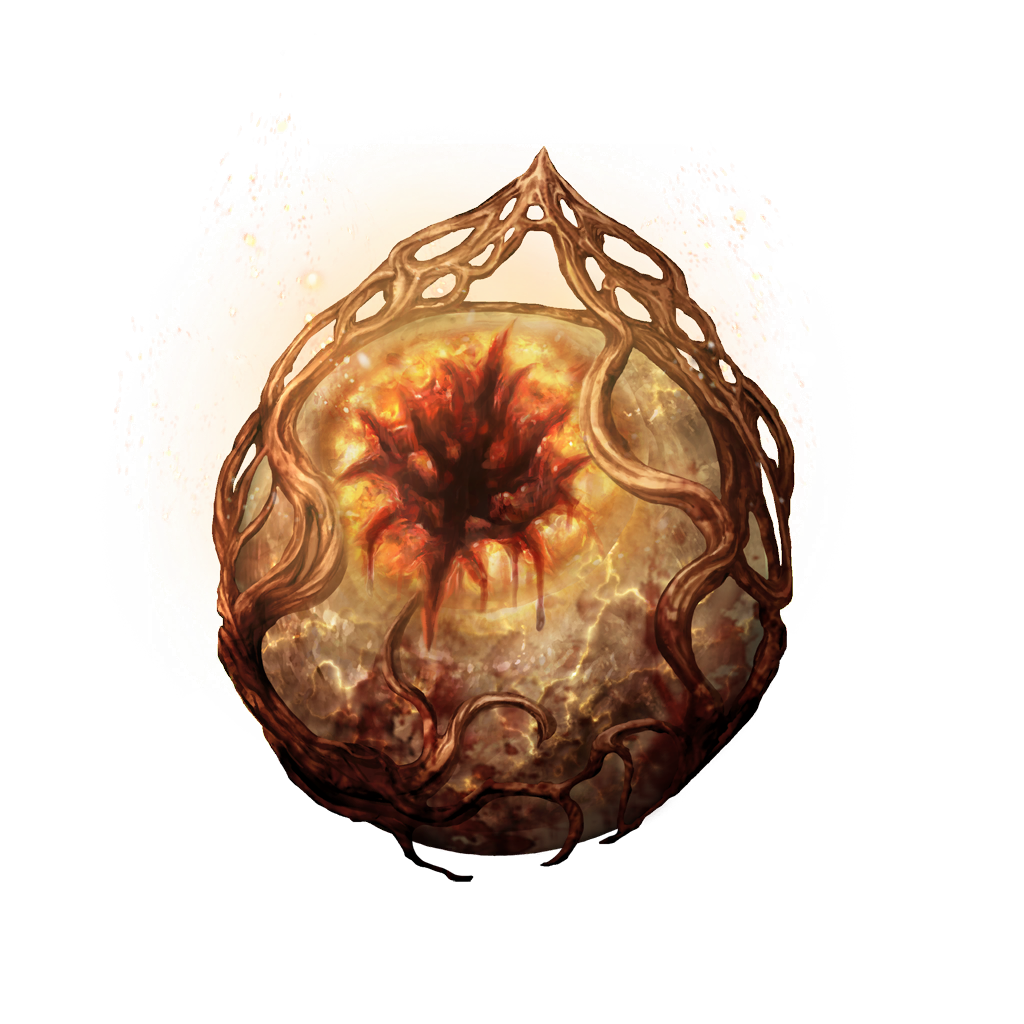
Stat-padding talisman that adds +5 to Vigor, Endurance, Strength, and Dexterity. The +5 Str is what brings Astrologer to the 12 Str needed for the Mace and the Dagger without spending base levels. The +15% damage taken is rough at 9 Vig, but every other stat boost scales the build faster than any other talisman in Limgrave.
How to Obtain


Two-slot mix-and-match flask. Drink right before crossing the fog wall to stack both tears for 3 minutes — long enough to cover even the longest boss fight in one charge. The flask itself is unlocked at the Third Church of Marika in Limgrave; tears are collected from Minor Erdtrees across the map.
How to Obtain
First-tier upgrade material for special weapons. Pushes Lusat's Glintstone Staff from base to +1.
How to Obtain
Combat Strategy
- ▸Mix Flask of Wondrous Physick with Intelligence-knot Crystal Tear and Magic-Shrouding Cracked Tear before every major fight.
- ▸Equip Dagger as the offhand and self-cast Golden Vow for the +11.5% attack and +7.5% defense buff that lasts ~80 seconds.
- ▸Confirm Radagon's Soreseal and Graven-School Talisman are slotted. Allocate FP flasks at roughly 2 HP to 6 FP for boss fights.
- ▸Summon Spirit Jellyfish Ashes the moment you cross the fog wall so it grabs aggro before the boss has a target.
- ▸Drink the prepared physick during the summoning animation. The Magic-Shrouding tear and Int-knot tear are now live for the full opener.
- ▸Drop the first Rock Sling at maximum lock-on range so the boss commits to the jellyfish, not the camera direction.
- ▸Spam Rock Sling on bosses that haven't aggroed onto you yet. The +30% gravity boost from Meteorite Staff (early) or B-scaling on Lusat's (late) both melt health bars at 18 FP per cast.
- ▸Once 52 Int is online, charge Comet whenever the boss is distracted by the jellyfish. Charged Comet hits 365% Sorcery Scaling plus an AoE explosion.
- ▸Reposition perpendicular to the boss between casts. Standing still at max range is the fastest way to eat a dash attack at 9 Vigor.
- ▸Cycle FP flasks aggressively. The Cerulean Hidden Tear physick is reserved for the burst window, not for filler rotations.
- ▸Throw a Sleep Pot at the boss when its stagger pattern allows. Most non-Undead, non-Dragon bosses sleep for nearly a minute.
- ▸Charge Comet three times in a row while the boss is asleep. With Lusat's Staff plus Graven-School plus physick, each charged Comet is the largest single burst the build can produce.
- ▸Save Cerulean Hidden Tear for this window. Free FP for 15 seconds means the three-cast Comet chain costs nothing.
- ▸When the jellyfish dies, immediately re-summon if FP allows. Continued aggro distraction is what keeps the build alive past the second phase of any major boss.
- ▸If HP dips low, retreat to maximum range and let the jellyfish re-pull aggro. A single sip from the Crimson Flask is enough at 9 Vig because one hit is fatal regardless of HP.
- ▸If FP empties out, swap to the Mace with Bleed for chip damage rather than committing to melee with the Dagger.
- ▸Stack Gold-Pickled Fowl Foot before any boss that gives more than 5,000 runes. The build's leveling pace depends on every rune dump going as far as possible.
- ▸Hold both staves in different hands when farming gravity-weak enemies. Dual-wielding two Meteorite Staves stacks the gravity buff to +69%, which one-shots Putrid Avatar and similar field bosses.
- ▸Against sleep-immune bosses, rotate Rock Sling stance breaks for criticals instead of forcing the Comet burst window.
Sources
Verified: 2026-05-13 · All content is original with full credit to original creators.