Tiel Bleed Build
 Tiel
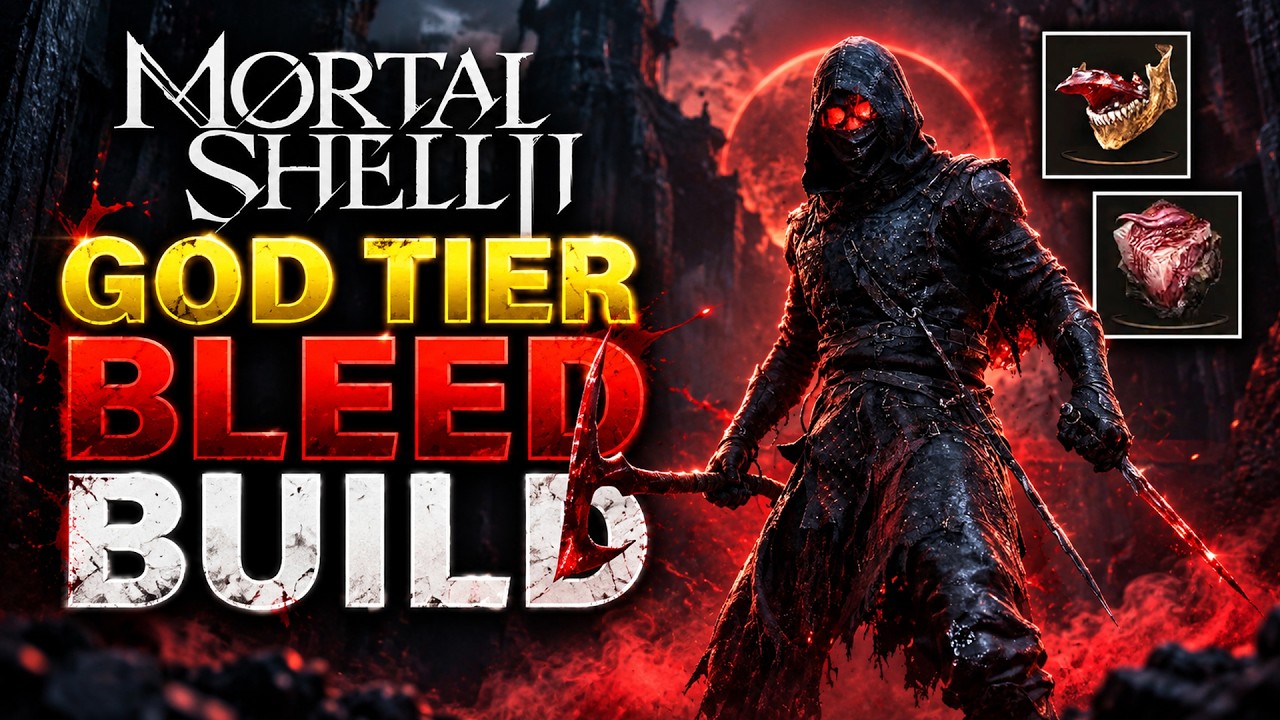
TielTiel rebuilt around Bloodcurse burst instead of poison detonation. The Axe and Dagger carries a permanent Bloodcurse infusion and strikes twice on every hit, while the Naylshotte sidearm fires a Fusillade flurry that crits constantly and stacks Bloodcurse and Fragile on contact. Two well-timed Bloodcurse detonations take most bosses down to roughly a quarter of their health, and Tiel's Shadow kit keeps you behind the enemy the whole time.
Damage
Two Bloodcurse bursts take a boss from full to roughly 25% health. All melee attacks strike twice at max Duality
Survivability
No defensive stats. Shadow Dash repositioning plus up to 165% melee damage below half health
Boss
Cleared through New Game+. Blood bursts capped at two or three per boss
Tiel
Tiel is the agile shell, built for dashing and quick strikes rather than trading blows. He generates Shadow, a resource that briefly hides him and sets up a heavy Shadow Strike from stealth. His Shadow Dash grants extra Shadow and inflicts stagger damage when you time it just before an enemy connects.
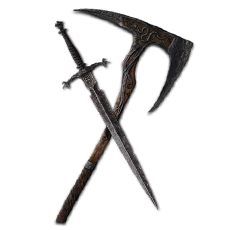
The melee half of the build. Fast light attack strings mean more hits per opening, which matters twice over here because every hit also generates Resolve to fuel the sidearm. Pairs the Duality Stone for doubled strikes with the Arbiter's Prize Bloodcurse infusion.
How to Obtain
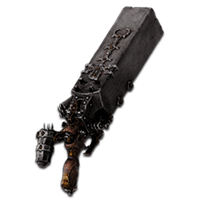
The sidearm that carries the burst. On its own it is an explosive short-range blast, but loaded with the Fusillade Stone it dumps a stream of shots into a single opening. Every one of those shots is a chance to crit, and the crit stones turn each of those into Bloodcurse and Fragile stacks.
How to Obtain
Combat Strategy
- ▸Equip Arbiter's Prize and Viletongue Hedron at Level 3 so both weapons stay Bloodcurse infused permanently with no Resolve upkeep.
- ▸Fill all ten Tarstone slots. Ability slots take Acolyte's and Fusillade, Combat takes Duality and Enfeebling, Infusion takes the two Bloodcurse stones, and the four shell slots take Auspicious, Berserker's, Deadeye and Marksman's.
- ▸Max Critical Role and Ambush before a serious boss attempt. Those two carry more of the damage than any single Tarstone.
- ▸Activate Lingering Shadow and close on the target while Shadowed.
- ▸Land a Shadow Strike from behind so Deathmark's crit chance and Ambush's backstab bonus both apply to the same hit.
- ▸Follow immediately with a melee attack, which Critical Role guarantees as a critical, then a Naylshotte shot, which Critical Role also guarantees.
- ▸Stay on the Axe and Dagger light combo. Duality makes every attack in the string hit twice, so this is your fastest source of both damage and Resolve.
- ▸Spend 30 Resolve on an Acolyte's Stone charged attack when you have a wide opening, since that single hit collects every melee crit bonus at once.
- ▸Shadow Dash through incoming attacks rather than blocking. It grants Shadow, deals 300% stagger damage and refreshes your ability to get behind the boss.
- ▸Let Resolve climb past 80, which happens quickly once Duality is at max rank.
- ▸Fire the Naylshotte to trigger the Fusillade flurry at close range where every projectile connects.
- ▸Each critical in the flurry applies Bloodcurse through Viletongue Hedron while Enfeebling adds Fragile, so the target is primed and taking increased melee damage when you return to the axe.
- ▸Go straight back into melee after the burst. The build does its work in the transition between the two weapons, not in either one alone.
- ▸Most bosses only allow two or three blood bursts before the returns fall off, so treat each one as a resource and spend it on a clean opening rather than firing on cooldown.
- ▸Two well-timed bursts are enough to take a boss from full health to roughly a quarter, and the Axe and Dagger finishes the remainder.
- ▸Berserker's Stone rewards fighting below half health with up to 165% melee damage, so a risky bar is a damage bonus rather than purely a problem.
- ▸Seal Affinity means a failed guard, parry or harden still returns three Shadow stacks, so a botched defensive read still funds your next reposition.
Sources
Verified: 2026-09-09 · All content is original with full credit to original creators.