The Twisted Gladiator
 Scrapper Set
A beginner-friendly melee and shotgun build built around the Scrapper Set's Challenger bonus, which rewards aggressive close-range play with both increased damage output and a built-in damage reduction layer. Hunter's Mark tags targets for bonus critical hits while the Shotgun opens the engagement, then the Scrap Sword finishes inside the 5-meter sweet spot while Mender's Aura keeps health topped up. Every piece of core gear is available in Ward 13 or on early Earth, making this a true start-to-finish build for Normal and Hard difficulty.
Damage
Shotgun 130 base damage per blast, +30% Challenger bonus at 5m. Scrap Sword 52-156 with lunge finisher.
Survivability
+30% armor effectiveness from Twisted Idol, -15% close-range damage received from Challenger, 10 HP/sec from Mender's Aura.
Boss
Trivializes melee-range bosses on Normal and Hard. Damage drops sharply beyond 10m. Requires Frenzy Dust and Ammo Box management on Nightmare.

Scrapper Set
A three-piece armor set available from the very start of the game via the Scrapper archetype or purchased from Rigs in Ward 13. Wearing all three pieces activates Challenger, a passive bonus that increases damage against enemies within 5 meters by 30% and reduces damage received from those same enemies by 15%.

The primary ranged damage dealer. Seven shells per magazine with high burst output at close range, and enough mod power generation to make Mender's Aura available frequently during prolonged fights.
Mods & Attachments
- ▸Mod: Mender's Aura— Creates a 2.3m healing pool regenerating 10 HP per second for up to 10 seconds (scales to 20s at weapon level 20). Drop at your feet during sustained melee exchanges to maintain health without breaking the rotation.Wiki
How to Obtain


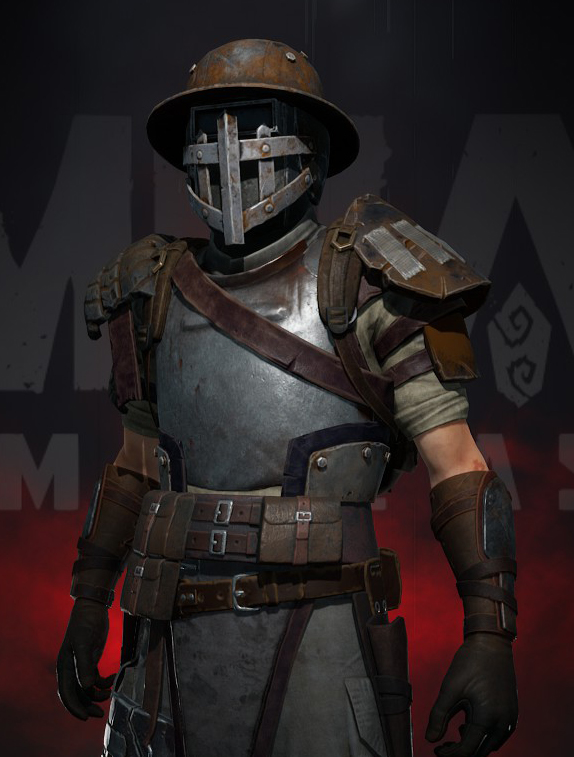
All three pieces must be worn to activate the Challenger bonus. The set turns close-range aggression into a compounding advantage. The same proximity that maximizes melee damage also triggers the damage reduction layer, making the playstyle more forgiving the more aggressively it is played.
How to Obtain
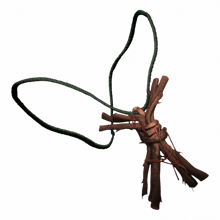
Boosts armor effectiveness by 30% while cutting encumbrance by 15 points, letting the Scrapper Set's armor rating punch well above its weight class. The reduced encumbrance also keeps dodge speed in the lighter, faster tier.
How to Obtain
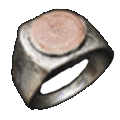
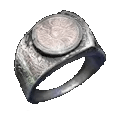
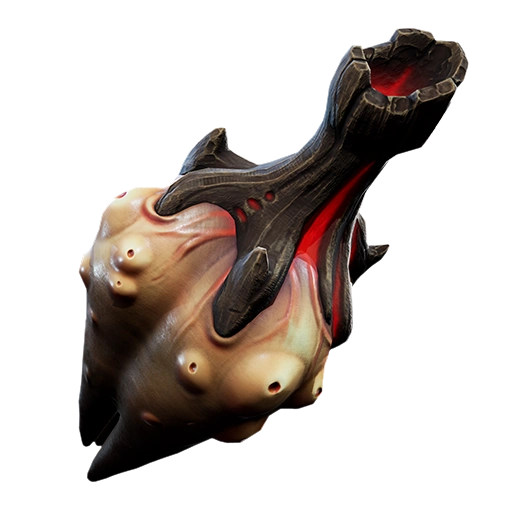
Creates an area cloud granting bonus fire rate and reload speed to all players standing in it. Offsets the Shotgun's slow reload speed and compensates for the fire rate penalty when Band of Castor is worn without its pair.
How to Obtain
Combat Strategy
- ▸Apply Frenzy Dust before the fight to gain +15% fire rate and reload speed, offsetting the Shotgun's slow reload.
- ▸Confirm all three Scrapper armor pieces are equipped to keep the Challenger bonus active.
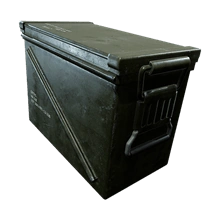
- ▸Have Ammo Boxes ready before boss encounters to cover multiple Shotgun magazines without running dry.
- ▸Fire Hunter's Mark from the Submachine Gun to mark every enemy within 35 meters and add a 10% crit chance bonus to the upcoming Shotgun blasts.
- ▸Switch to the Shotgun and close distance to within 5 meters before firing to activate the Challenger damage bonus.
- ▸Unload the Shotgun into the primary target while inside the 5-meter window.
- ▸After the Shotgun empties, draw the Scrap Sword and sprint-lunge to maintain pressure inside the Challenger zone.
- ▸Use the Scrap Sword's wide cleave to hit grouped enemies and the lunge to chase any target that backs beyond 5 meters.
- ▸Reload the Shotgun during a brief break, then blast again when enemies cluster.
- ▸Drop Mender's Aura at your feet whenever health drops below half and stay inside the 2.3-meter healing pool while continuing to attack.
- ▸Switch to the Submachine Gun for ranged pressure if stepping into melee would mean walking into a telegraphed boss attack.
- ▸Sprint back to reload and consume an Ammo Box if ammo runs critically low during a prolonged boss fight.
Sources
Verified: 2026-04-21 · All content is original with full credit to original creators.