Elden RingRune Farming: Seven Methods From Level 1 to Endgame
Seven rune farming routes ordered by how far you are into the game, from a level 1 boulder dodge to a post-game loop that clears 160,000 runes a minute. Runes are both currency and experience in Elden Ring, so every method here is a levelling method. The two rune boost items multiply everything that follows them, so pick them up early. Overall the Albinauric farm wins once you have beaten the game, the Mohgwyn bird lure is the easiest strong option before that, and the Shadow of the Erdtree routes are there when the Albinauric loop gets stale.
Before you start
- Torrent, for every route that involves riding between a boss and a site of grace
- A bleed weapon for the Greyoll loop. The Flail needs 13 Dexterity, the Morning Star needs less
- The Albinauric method requires beating the Elden Beast to trade for the Sacred Relic Sword
- The last two methods need Shadow of the Erdtree and access to the Shadow Keep
Builds that make this easier
Items / Buffs



Early Game: Dragonbarrow Boulders
Ride down to Lenne's Rise
Head to the swampy stretch north of the Third Church of Marika and step into the teleporter there. It drops you near Lenne's Rise. Claim the site of grace at the tower, because the whole loop is built around resetting at it. This is reachable at level 1 with no combat required, which is what makes it the earliest farm on the list.
Run the boulder dodge loop
Mount Torrent at the grace and ride downhill until a rolling boulder spawns. Dodge it rather than trying to tank it, then turn around and ride straight back to the grace to reset. Each boulder pays out roughly 2,000 runes, which works out to about 8,000 runes a minute. It is not a large number, but the risk is close to zero and it is available before you have a weapon worth using.
Stacking the Rune Buffs
Clear Murkwater Cave and spare Patches
Work through Murkwater Cave to the yellow fog gate at the end. Walking through it does nothing on its own. The trap springs when you open the chest behind it, because the chest belongs to Patches and he ambushes you for touching it. Beat him and he offers to surrender. Spare him rather than finishing him, since a dead Patches means no shop and no cookbook.
Buy the Missionary's Cookbook and craft the Fowl Foot
Patches sets up shop inside the cave once spared. Buy Missionary's Cookbook 2 from him, which unlocks the recipe for the Gold-Pickled Fowl Foot. The recipe takes three materials, so gather those before you plan a long session. Crafting is the sustainable route here. Hunting for the pre-placed Fowl Feet scattered across the map runs you dry quickly, and the buff is a consumable you will burn through constantly.

Claim the Gold Scarab in the Abandoned Cave
Travel to the Smoldering Wall site of grace in Caelid and ride until you hit the cliff edge. From there you have to jump across the roots to reach the cave mouth, which takes a few attempts. Fair warning on the inside: the Abandoned Cave is genuinely dangerous for an underlevelled character, and the Cleanrot Knights guarding the far end are the reason. Kill them and the talisman is yours.
Equip the talisman and eat the Fowl Foot before every farm
Wearing the Gold Scarab and eating a Gold-Pickled Fowl Foot together lifts rune gain by about 50%. On the boulder route that turns a 2,000 rune payout into a little over 3,000. The reason to grab both this early is that the bonus applies to every method further down this guide, so the sooner they are in hand the more each later farm returns.
Early Game: Farming Greyoll
Pick up a bleed weapon
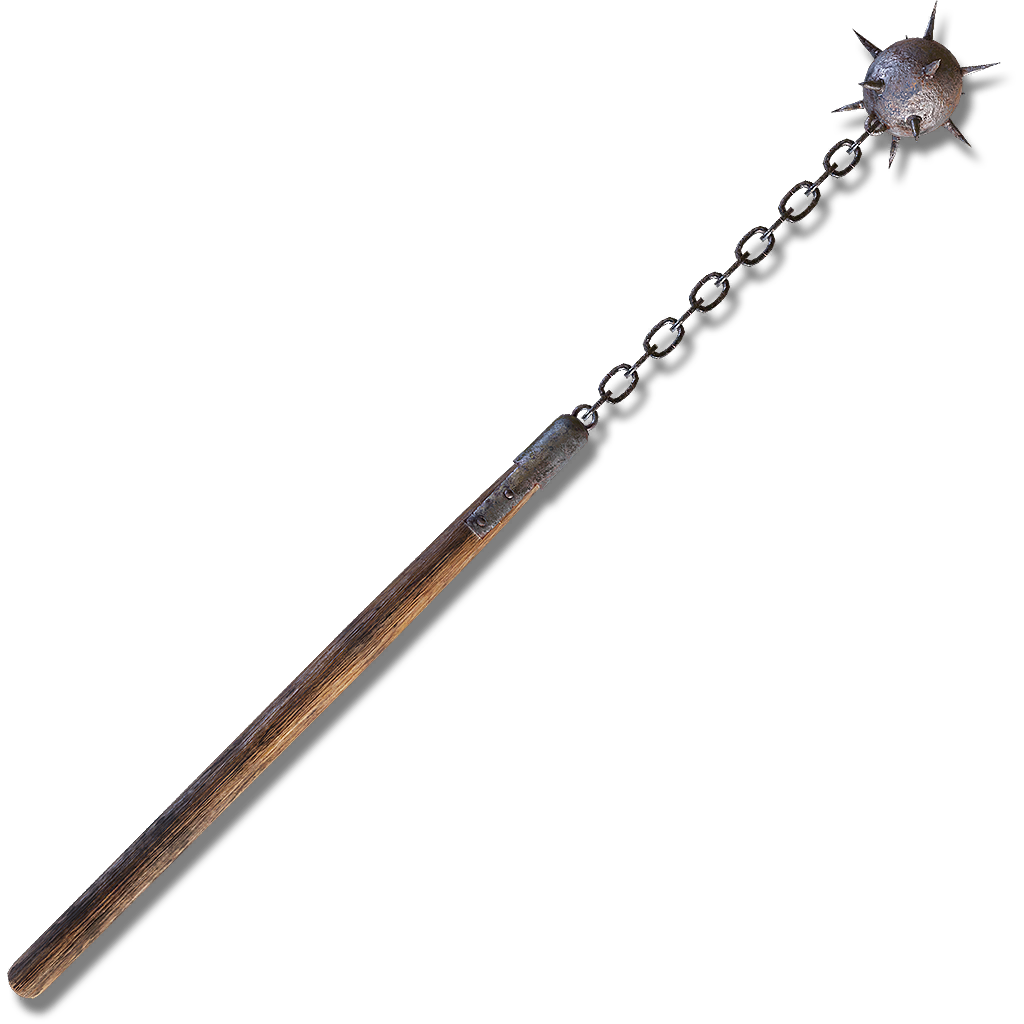
Greyoll is enormous, slow, and highly vulnerable to bleed, which is what makes this work at low level. If your class has at least 13 Dexterity, take the Flail. It sits in a carriage near where you meet Melina and receive Torrent, not far from the camp. If you cannot meet the Dexterity requirement yet, the Morning Star applies bleed as well and has a softer stat check.

Grab Radagon's Soreseal in Fort FarothOptional
Ride to Fort Faroth in Greyoll's Dragonbarrow, Caelid. If your starting class is short on stats, this talisman is worth the detour because it adds a large chunk across several attributes at the cost of taking more damage, which barely matters against a target that is asleep. Take the ladder to the second floor for the medallion, then drop through the correct hole. Pick the wrong one and you land somewhere you did not want to be. Deal with the rats below, drop down again, and the talisman is waiting.

Run the bleed and rest loop
Stand at Greyoll's tail and hit her until her health is one bleed proc away from breaking. Judging that threshold is the whole trick, so leave yourself margin rather than cutting it fine. Land roughly five to seven hits, then mount Torrent and back off toward the site of grace while staying just close enough to keep dealing damage. Position so the grace is directly behind you, land the last hits from horseback, and the moment bleed procs sprint to the grace and sit. The runes bank and Greyoll stays alive, so the loop repeats immediately. That is around 26,000 runes a minute unbuffed and roughly 40,000 with the buffs on, which is enough to reach level 35 in about an hour.
Upgrade the loop with Death's PokerOptional
Death's Poker roughly quadruples the output of this route, pushing it past 100,000 runes a minute and making it the strongest option available from early into mid game. To get it, sit at the Caelid site of grace until nightfall and move toward the skull, which is where the Death Rite Bird spawns. You do not need to fight it fairly even at level 1. Stand on the specific ledge spot and wait for the bird to leap at you, and it throws itself off the cliff instead.

Endgame: Mohgwyn Palace
Reach the palace through Varré's questline
This is the route available surprisingly early. After meeting the Two Fingers at Roundtable Hold, Varré relocates to a church in Liurnia. Speak to him to start the quest and he hands you five Festering Bloody Fingers. You then need to invade three times, either against real players online or, far more simply, by using the invasion sign at the Writheblood Ruins in Altus Plateau and beating the NPC there three times. Report back and he gives you an item that needs maiden blood. There are four ways to supply it: the Church of Inhibition, the Chapel of Anticipation where you started the game, reachable again through the Four Belfries waygate, Irina at the Weeping Peninsula, or Hyetta, though using her ends her questline. Return to Varré for the Pureblood Knight's Medal, which teleports you straight into Mohgwyn Palace.

Or skip Varré with the Snowfield teleporterOptional
If you would rather not run the questline, there is a teleporter in the Consecrated Snowfield that drops you at the outskirts of Mohgwyn Palace. It puts you further from the action than the medal does, but it involves no invasions and no quest steps.
Bring a sacred seal and the Heal incantation
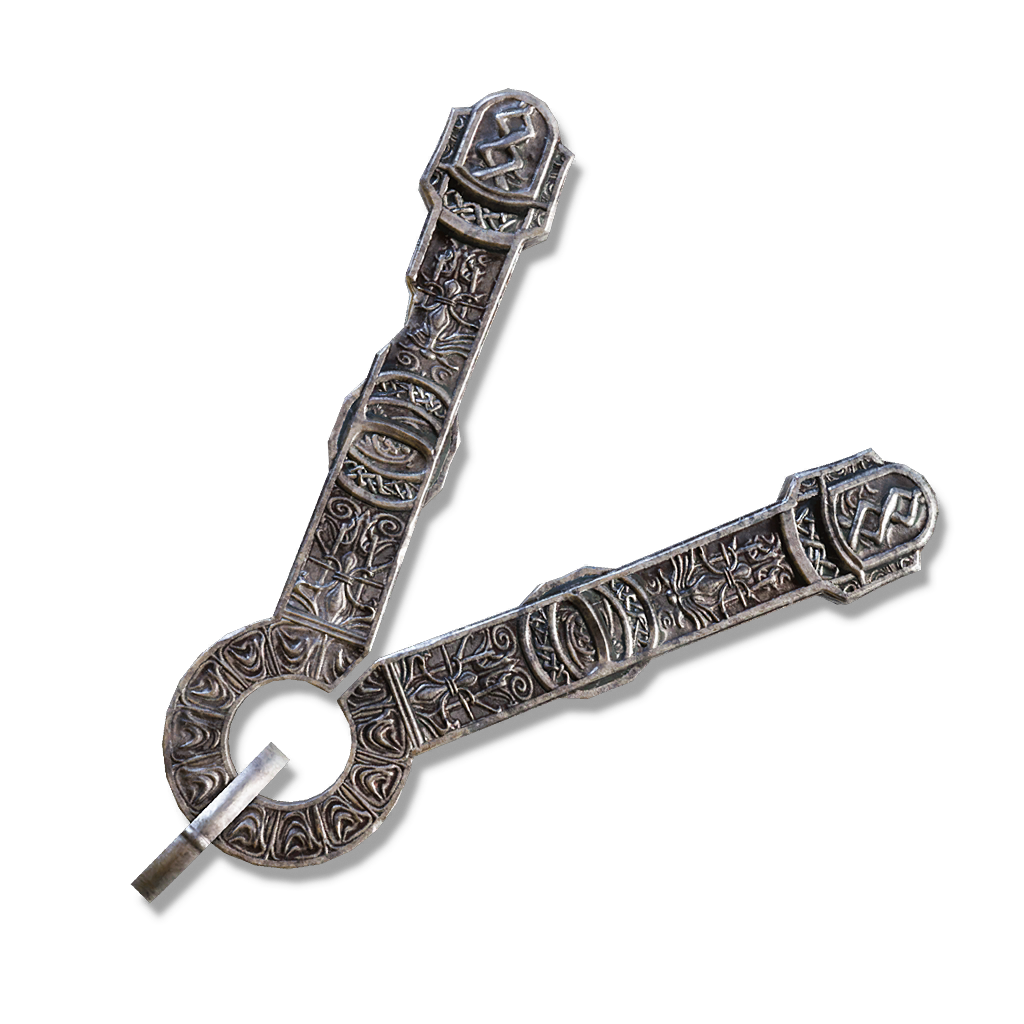
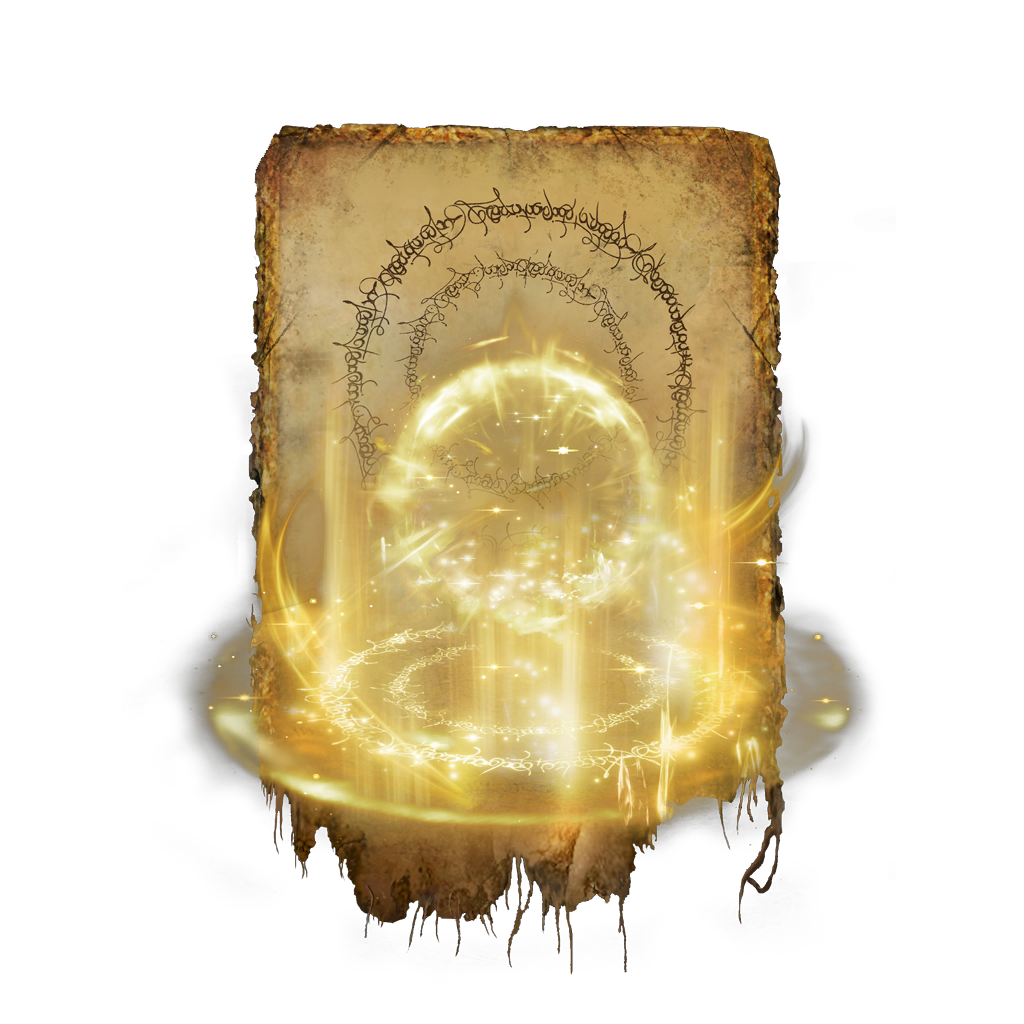
The fall method needs exactly two things, and neither is expensive. Buy the Finger Seal from the Twin Maiden Husks at Roundtable Hold and the Heal incantation from Brother Corhyn. Any sacred seal works, so if you already carry one there is nothing to buy.
Step off the ledge and hold the cast
Start at the Dynasty Mausoleum Entrance site of grace and make your way to the tree, using Torrent to hop up the ledges there. Continue to the bloody ledge, pop your rune boost consumable, and stand right at the edge. Step off, and the instant you do, begin casting Heal and keep holding it. Holding the spell stops the kill zone from registering, so instead of dying you keep falling. After about a minute you drop far enough that the map above you despawns, which instantly kills every enemy on it and credits you the runes, somewhere around 200,000 in one go. Open the map and fast travel back to repeat. Counting the run back and the fall itself at about a minute and a half, this lands near 80,000 runes a minute. It is the fiddliest method here and takes practice to get consistent.
Lure the giant bird off the cliff
All this one needs is a bow and arrows. Start at the Palace Approach Ledge Road site of grace and move to the cliffs to the northwest, then look down into the bloody swamp below to spot a single large bird. Shoot it once from where you stand. It charges at you despite the fact that you are on a completely different cliff face, and being far too heavy to fly, it simply falls to its death. That is roughly 17,000 runes with buffs every 10 to 15 seconds, so 80,000 to 100,000 a minute. Before you beat the game, this is the best balance of output and simplicity on the list.
Post-Game: The Albinauric Farm
Trade the Elden Beast Remembrance for the Sacred Relic Sword
This route opens once you have defeated the Elden Beast and finished the main game. Take the Elden Beast's Remembrance to Enia and trade it for the Sacred Relic Sword. Its Ash of War clears the whole Albinauric camp in a single swing, which is about 20,000 runes with buffs every 10 seconds, or roughly 120,000 a minute.

Build for the overkill bonus
There is a hidden 20% rune bonus for overkilling an enemy, which triggers when your damage exceeds 150% of its maximum health. Albinaurics on the Palace Ledge Road have about 1,100 health, so you need to land roughly 2,700 damage to qualify. Get there by respeccing to 80 Faith at Rennala if you are not already a Faith build, equipping the Shard of Alexander, Sacred Scorpion Charm and Godfrey Icon, and casting Golden Vow before you swing. The extra cast stretches each cycle to about 15 seconds, but the payout climbs past 42,000 runes per attack, which is over 160,000 a minute. That makes it the highest output method in the game, DLC routes included.



Use AoE alternatives before endgameOptional
If you have not beaten the game yet you can still farm this camp, just more slowly. The blunt option is to kill the Albinaurics with whatever weapon you already carry. The better one is any Ash of War with real area damage, such as Hoarfrost Stomp, Starcaller Cry on the Starscourge Greatsword, Taker's Flames on the Blasphemous Blade, or Ghostflame Ignition on Death's Poker. None of them match the Sacred Relic Sword, but they keep the route viable in the meantime.


Shadow of the Erdtree Methods
Swap the Fowl Foot for the Golden Horn Tender
The DLC adds a stronger rune boost consumable. The Golden Horn Tender gives 40% on its own, and paired with the Gold Scarab that comes to 60%, turning a 50,000 rune run into 80,000. The catch is that unlike the Fowl Foot it cannot be crafted, so you are limited to the fixed pickup locations and farming it from enemies. Where you have them, use these instead of the Fowl Foot.
Craft Festive Grease for passive gainsOptional
Festive Grease works on a different principle to the percentage boosts. Rather than scaling your payout, it hands you 25 runes every time you land a hit. That does very little for the burst methods in this guide, but it quietly adds up while you are just playing through the game normally. Worth using if you already have some and no other grease has a claim on your weapon. The recipe unlocks with Battlefield Priest's Cookbook 2.

Bait the Furnace Golem at Rauh Ruins
Start from the Rauh Ancient Ruins East site of grace, which you reach by taking the back entrance pathway from the Shadow Keep. Pop your consumable and stand in place until the Furnace Golem ahead wakes up. The moment it lowers its head to wind up the spinning fire attack, turn and run back to the grace. Three things happen at once. You get clear of an attack with far more reach than it looks like it has, the fire wipes out every enemy on the bridge and pays you for all of them, and sitting at the grace respawns those enemies. The trick is that resting respawns enemies but does not clear attacks already in flight, so the fire still burning on the bridge kills the fresh wave too and you collect twice. About 20,000 runes with buffs every 15 to 20 seconds, so 60,000 to 80,000 a minute. Weaker than the Mohgwyn routes, but it asks almost nothing of you.
Farm the Hinterland snakes
Getting to the Hinterlands takes some doing. Enter the Shadow Keep through the church district entrance, work your way to the back gate, and open the secret door with the O Mother gesture. From the site of grace there, head down the path clearing snakes with Wave of Gold, keep going until you reach the next site of grace, and rest to respawn everything. Then walk back up the same path killing them all again. Each round trip is worth about 245,000 runes and takes around two and a half minutes, so close to 100,000 runes a minute. It demands more movement than the Albinauric loop, which is exactly why it is worth knowing. It is a good change of pace when the camp clearing gets repetitive.