Fallout 76Gleaming Depths Raid: Complete Walkthrough
Every encounter in the Gleaming Depths raid explained, from the EN06 Guardian to the Ultracite Terror. Covers the mechanics behind each of the five stages, how to split roles on the drill, and what your team needs to bring to clear it.
Before you start
- Level 100 or higher recommended, though the raid has no level requirement
- A long-range build. Melee is unusable on the first and last encounters
- Power armor for survivability, unless your build is built around not using it
- Stimpaks, chems, and plenty of ammo
- A team of four. The raid was designed for a full group
Builds that make this easier
Items / Buffs
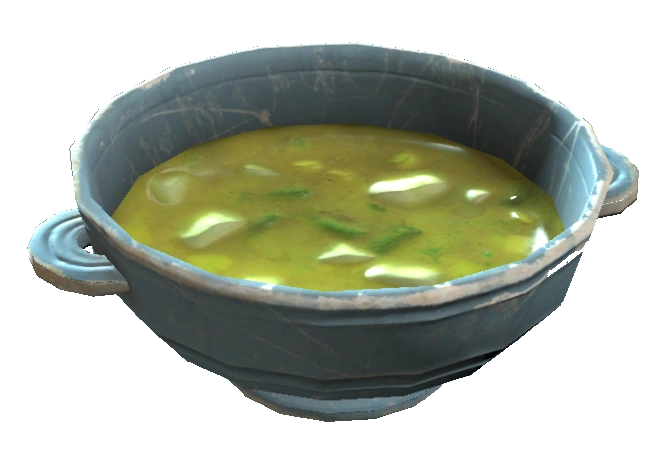
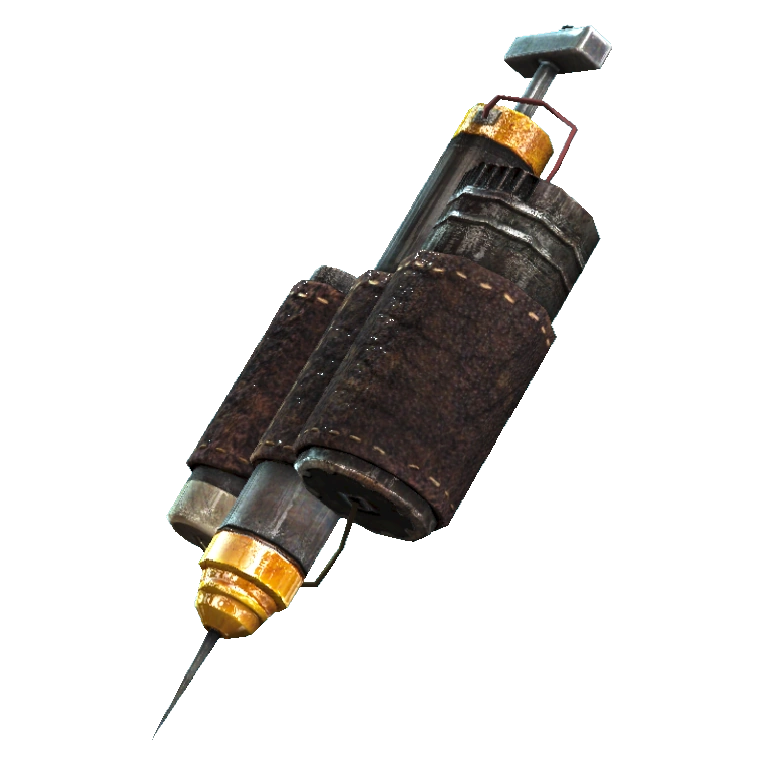
Before You Queue
Find the entrance in the Ash Heap
The Gleaming Depths entrance sits in the Ash Heap region of the map. There is no level gate on entry, so you can walk in at any level, but the encounters assume a geared team.
Bring a long-range build
Aim for level 100 or above with a build that can deal damage at range. Two encounters make melee impossible outright, so a melee-only character will spend those fights contributing nothing.
Pack power armor and consumables
Power armor makes you considerably tankier and is worth bringing unless your build is specifically designed without it. Stock stimpaks, chems, and more ammo than you think you need.
Find a full team of four
The raid was built around four players. Several encounters split the group into simultaneous jobs, so running short-handed makes them meaningfully harder rather than just slower.
Stage 1: EN06 Guardian
Spread the team around the arena
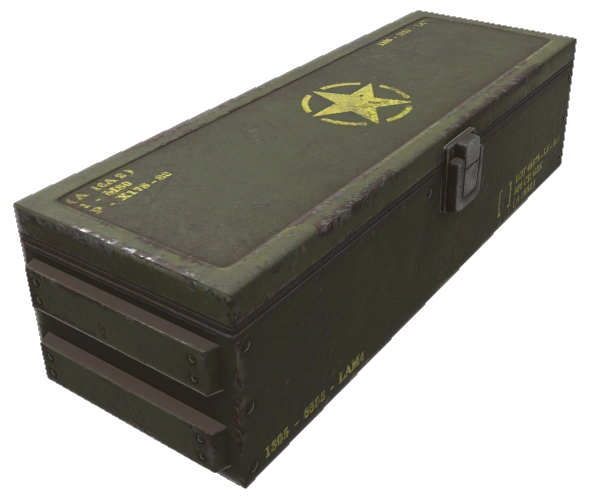
Position each player in a different corner, or split into two pairs on opposite sides. Four players in four separate spots means three of them can be damaging the boss while one holds its attention, instead of only two.
Hit the button to start the fight
Once everyone is in position, one player presses the button. The Guardian rises out of the platform in the middle of the room.
Shoot until it turns on someone
Open fire on the boss until it picks a target and starts shooting them. That turn is the whole mechanic: it exposes the shield generator mounted on its back.
Everyone else burns the shield generator
While one player is being targeted, everyone not under fire shoots the generator on the boss's back. That damage goes to the shield bar sitting above the boss's health bar. The boss keeps rotating between targets, so the job of shooting the generator keeps passing around the team.
If you are targeted, use cover and spam stimpaks
The Guardian hits extremely hard. Whoever it turns on should break line of sight behind walls and pillars and heal aggressively until it switches to someone else.
Rush the front once the shield drops
When the shield bar empties the boss is crippled and stops fighting back. You have under a minute, so get to the front of it and hit weak points for as much damage as you can before it recovers.
Get into the safe room before the heat-up
During the damage phase the room begins to overheat. One of the three outer doors opens with flashing lights above it. Squeeze in a little more damage when the warning appears, then run for that door, because staying out kills you.
Know you only get four damage phases
Each safe room explodes after it is used, so it cannot be re-entered on the next heat-up. That caps the fight at four damage phases, though most teams finish in one or two.
Stay off the electrified floor and platform
The ground immediately around the boss is electrified and does heavy damage. Jumping onto the boss's platform kills you instantly, which is the reason melee builds cannot work here.
Alternative: reflect its shots with Bullet Shield
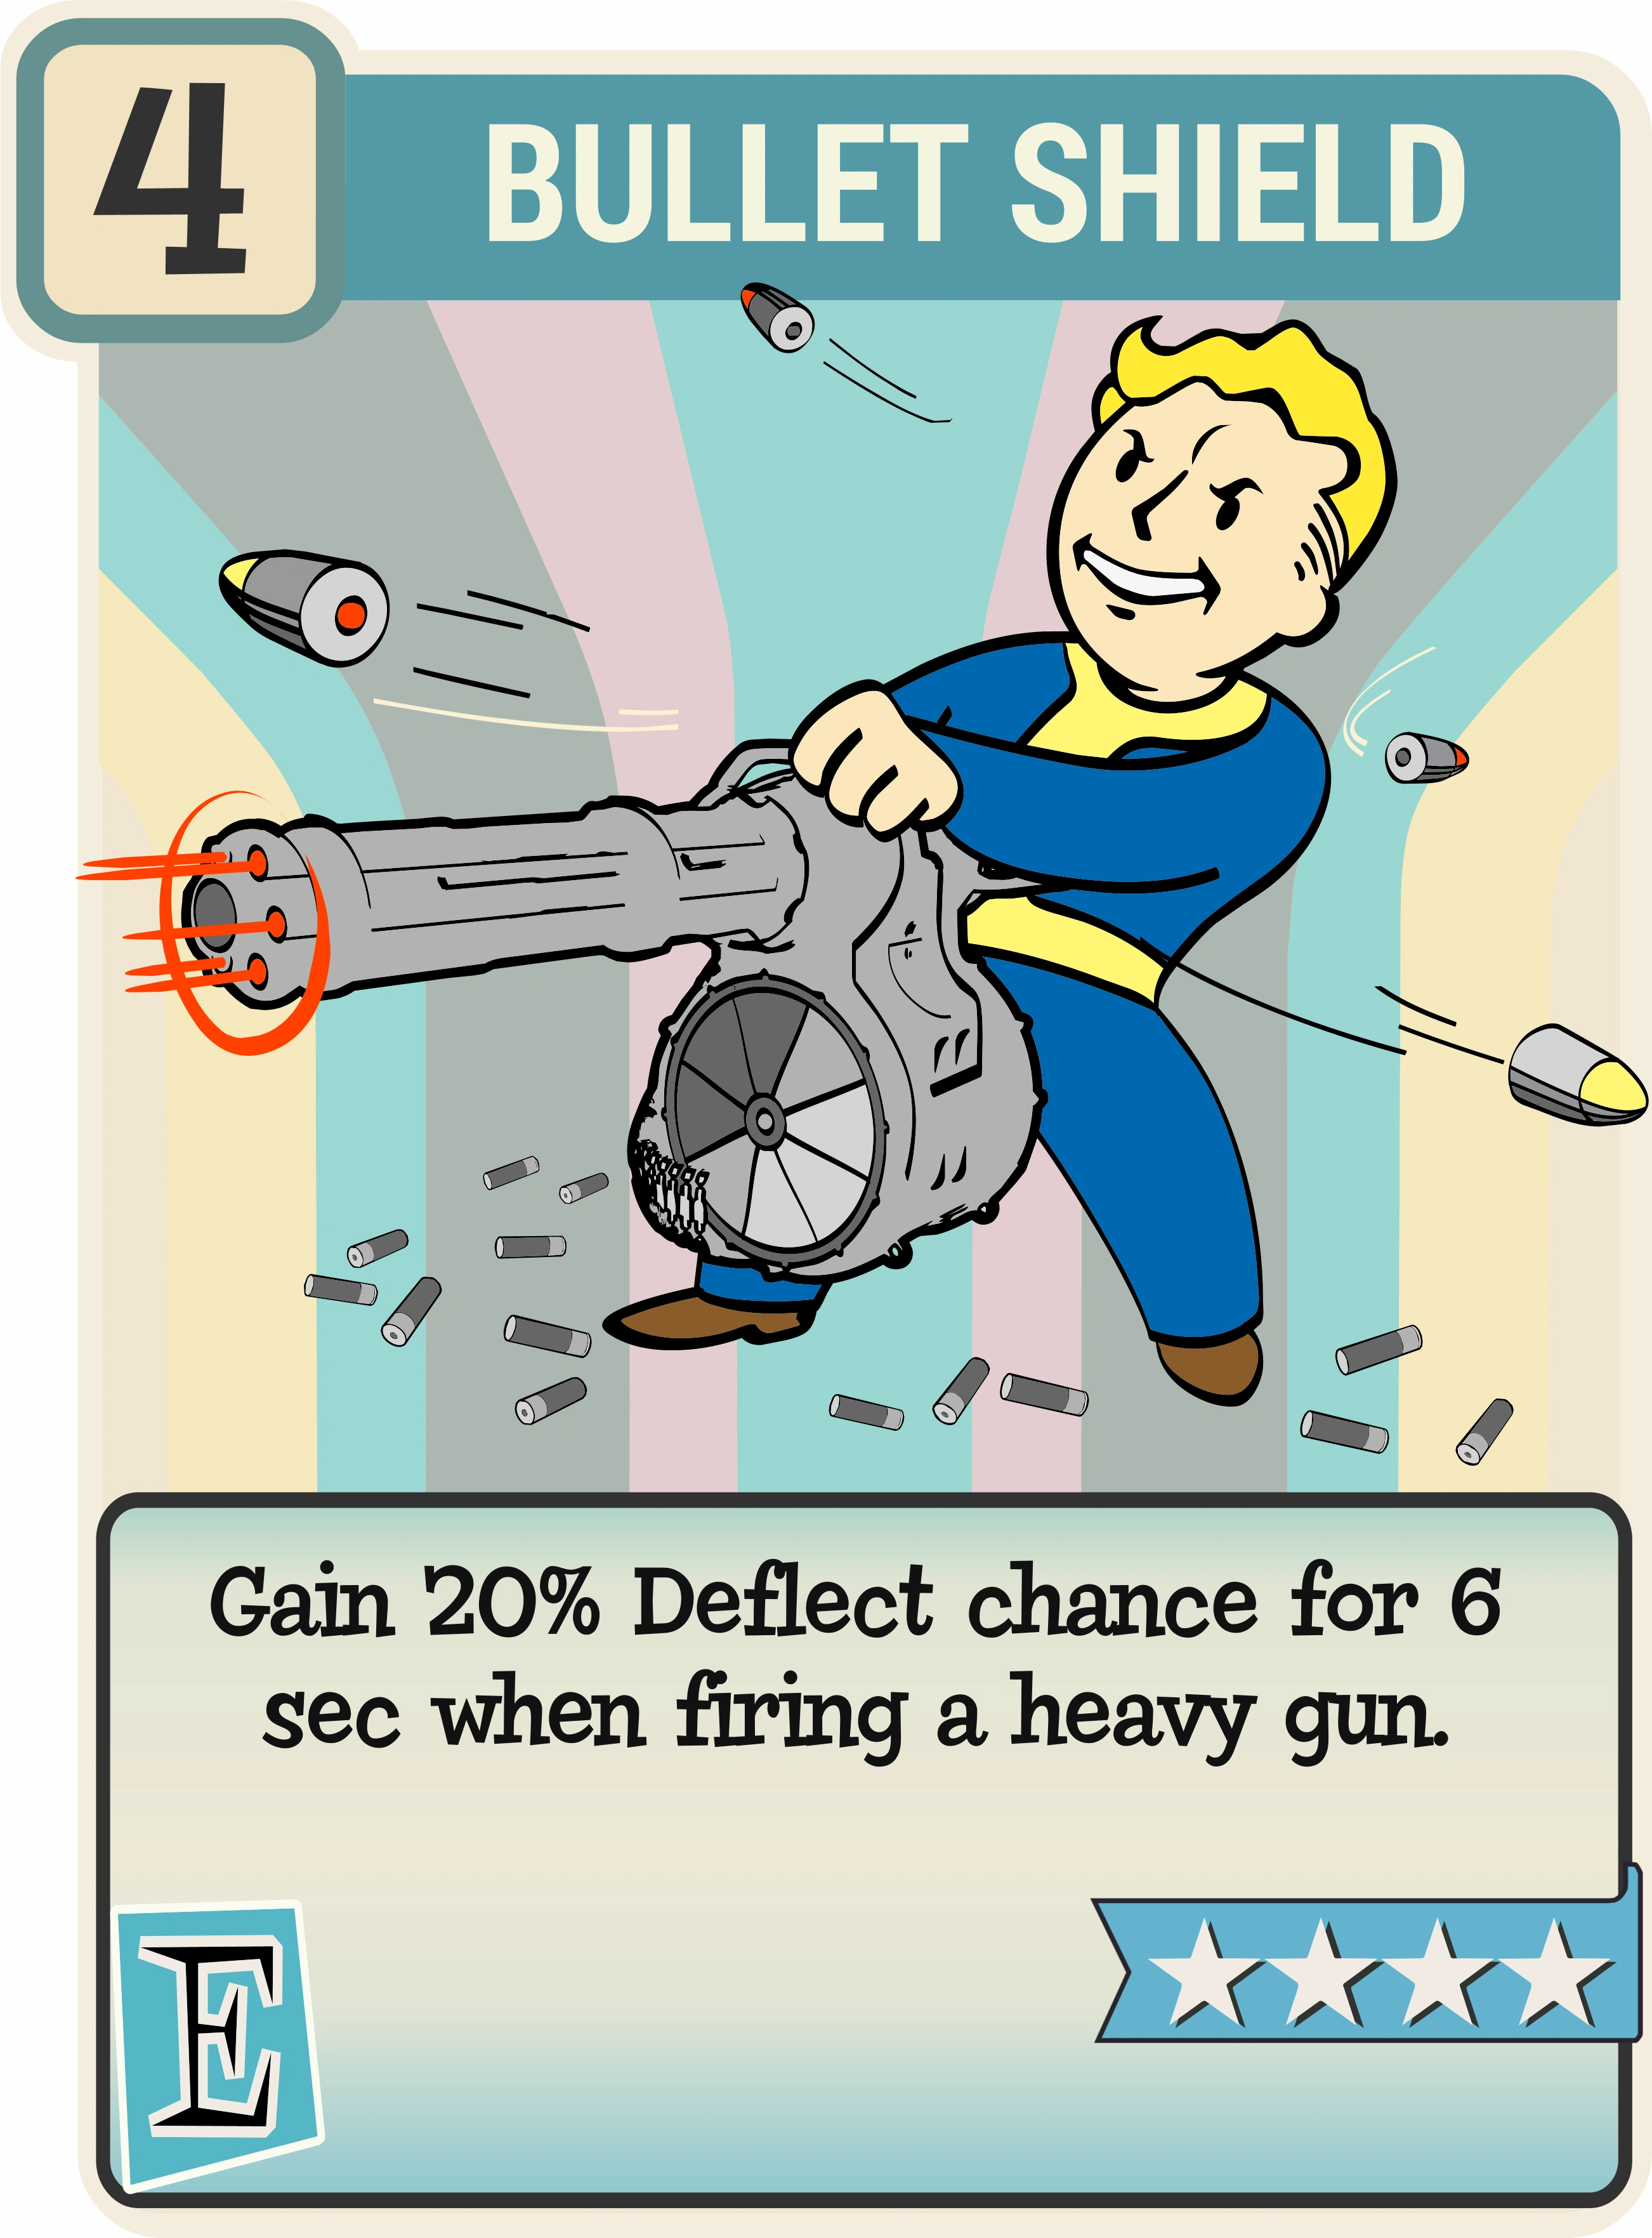
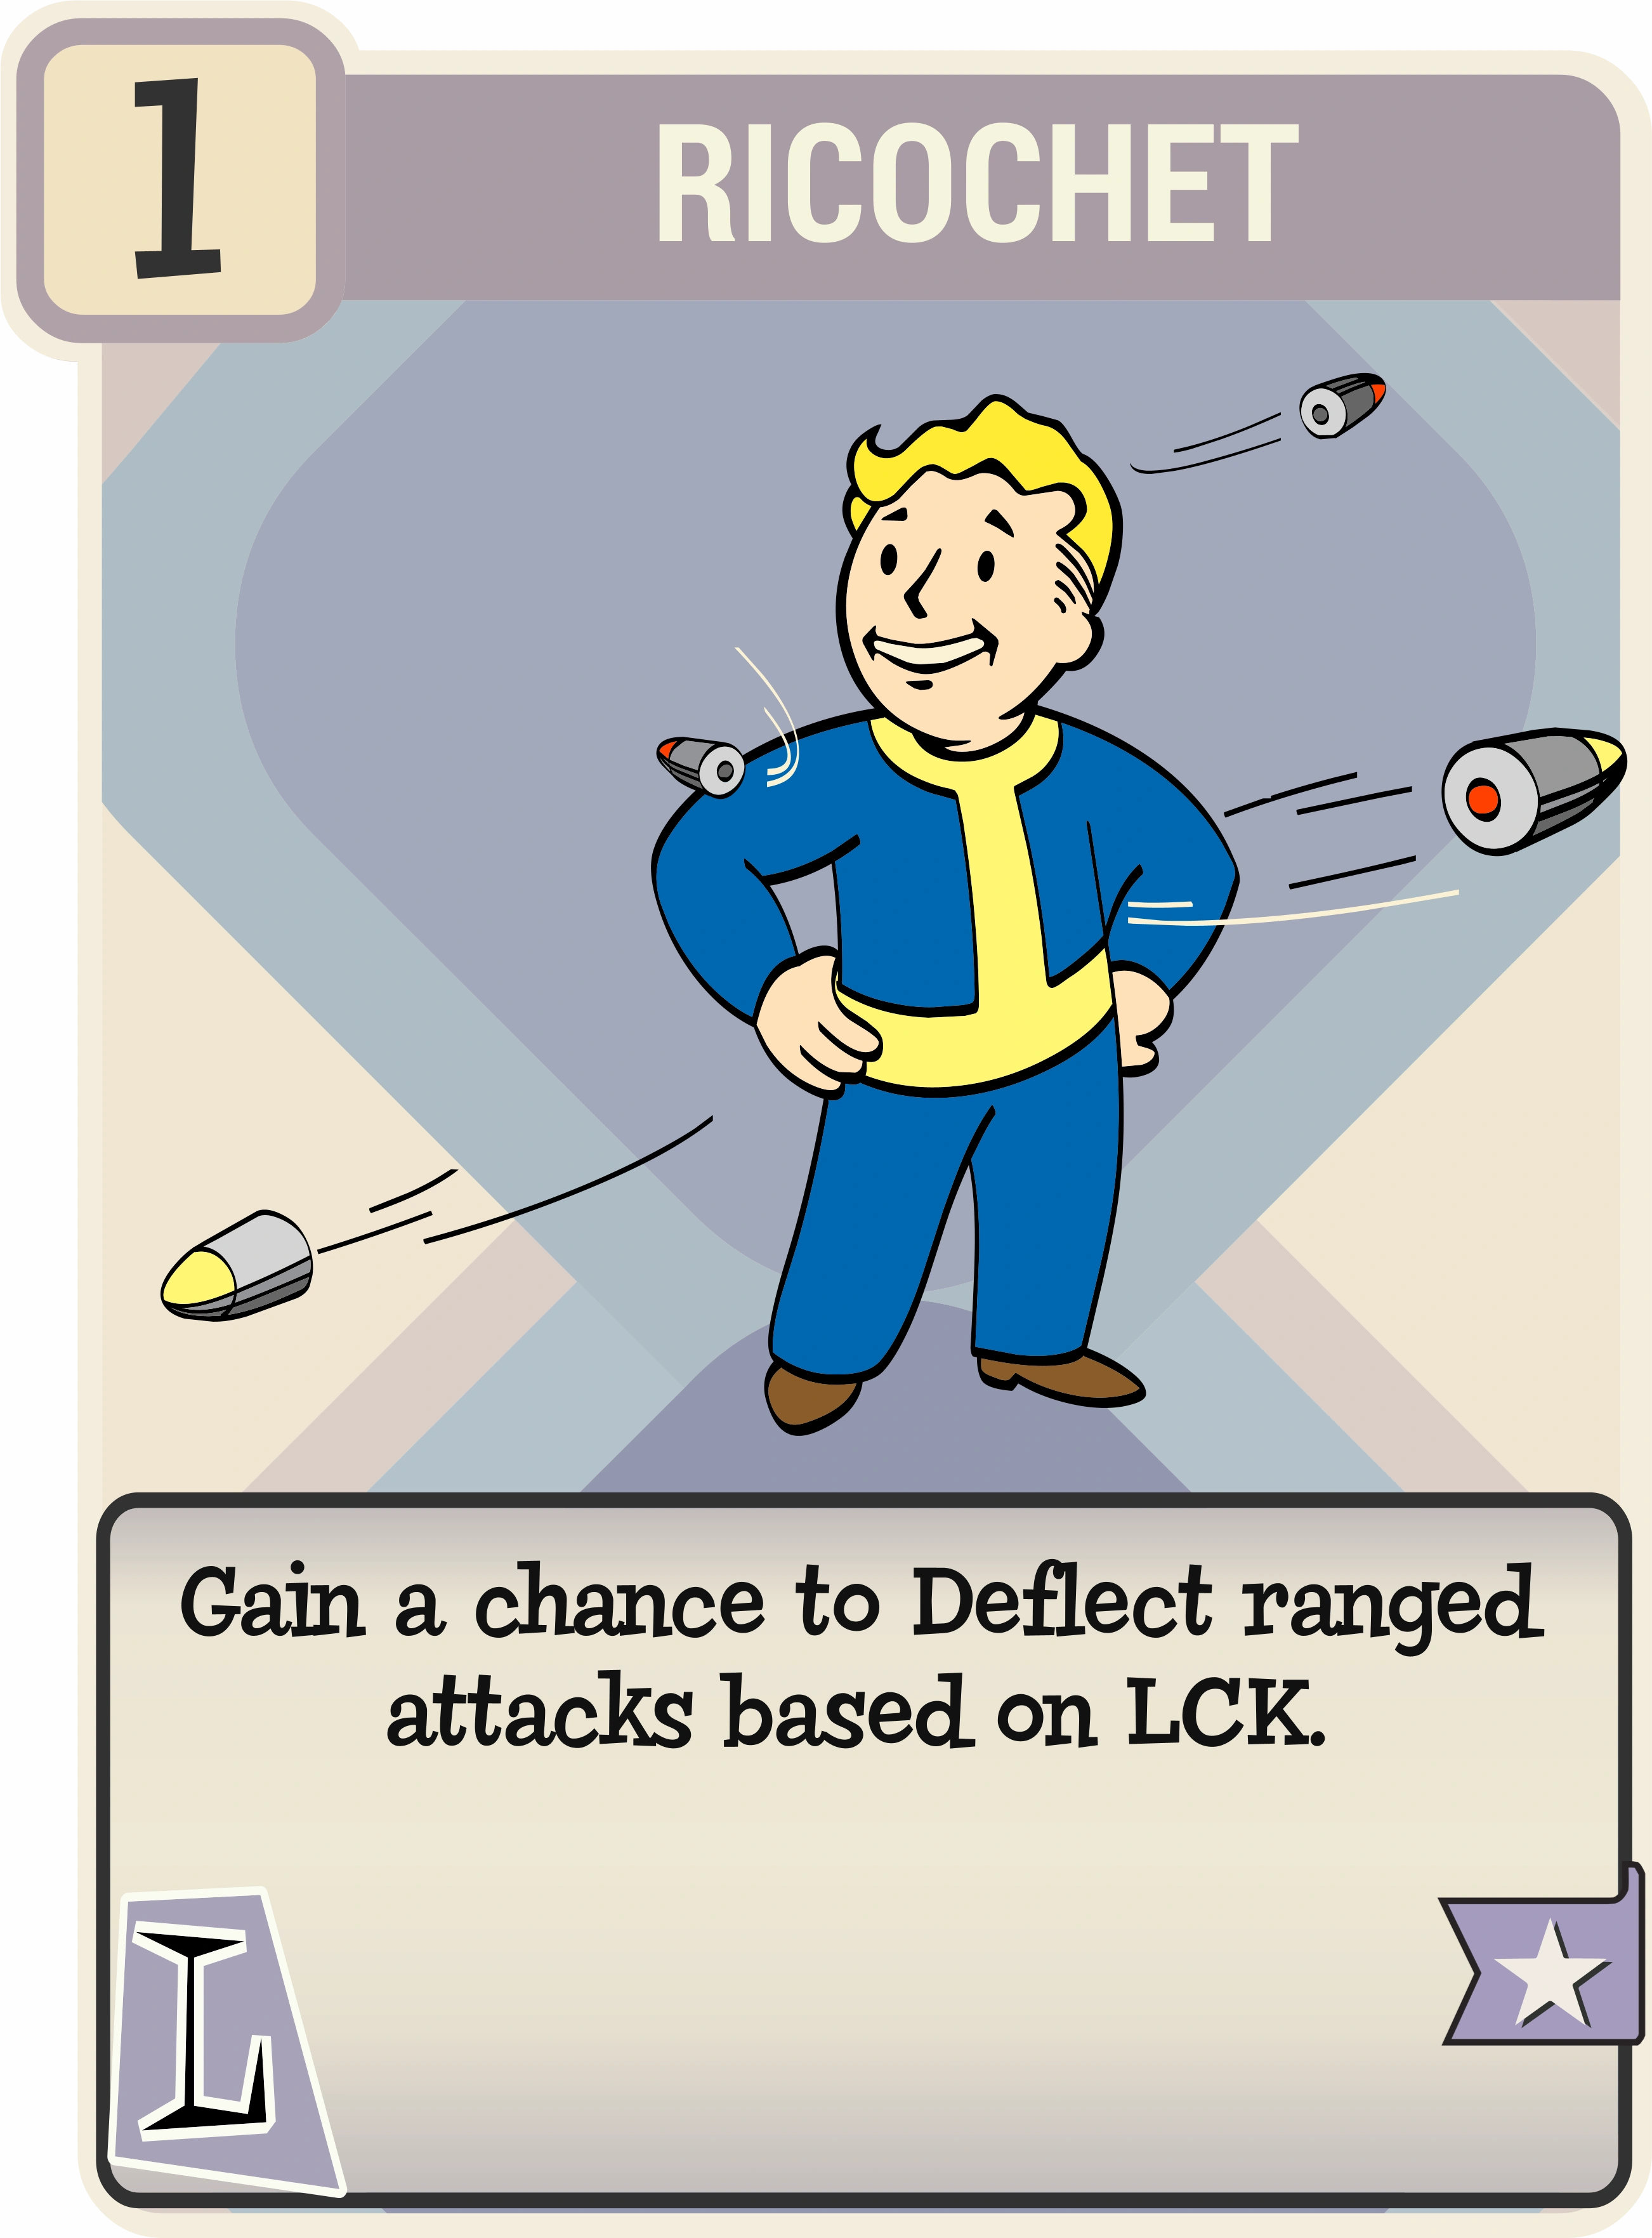
The second approach skips the positioning entirely. In power armor with Troubleshooter's, Bullet Shield, and Ricochet, you can stand in the open firing a heavy weapon and let the boss's own shots bounce back into its shield generator until the shield breaks. Then the team damages the boss normally.
Stage 2: The Drill
Expect this stage to end most runs
The drill is the hardest encounter in the raid, though not because the mechanics are complicated. It punishes people not playing their assigned role, and a couple of mistakes will wipe the group. Clear this and the rest of the raid is comfortable.
Split into runners and defenders
Divide the team in two, either two and two or three and one. Two pairs is the usual choice. Sort people by what their builds actually do rather than splitting evenly for its own sake.
Runners need movement speed and AP
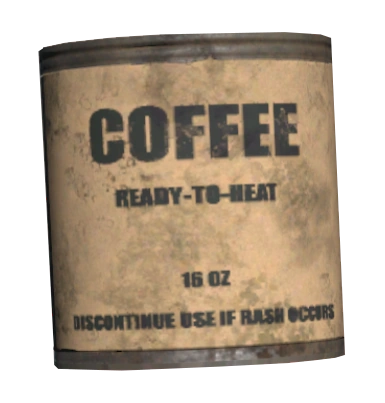
Put your mobile characters on running. They want high movement speed, a deep AP pool for sprinting, mutations like Speed Demon and Marsupial, and something that regenerates AP on demand. Canned coffee is the usual pick.
Defenders need burst damage on groups
Defenders are whoever can delete clustered enemies fastest. Heavy weapons with large magazines and power armor for durability, since they will be standing in the middle of everything for the whole encounter.
Take starting positions, then start
Runners wait by the blue doors on the outside of the room and defenders gather at the drill. Once everyone is set, a defender presses the button to begin.
Defenders: keep everything off the drill
Mole miners and mole rats swarm the drill the moment the encounter starts. The defenders' only job is killing them before they reach it. The pressure keeps building as the encounter runs, so plan for a long fight rather than a burst.
Defenders: kill mole rats first
Mole rats carry landmines that detonate on the drill for heavy damage, so they always take priority over anything else. Fall back to clearing mole miners whenever no rats are on screen.
Runners: fetch red fuel canisters from the tunnels
Runners head into the tunnels ringing the arena and look for red fuel canisters. Grab one and take it straight back to the deposit box beneath the button that started the encounter.
Runners: carry one canister and go straight back
You can only hold a single canister at a time, so there is nothing to gain from detouring. Do note any others you pass on the way back, since that tells you where to head on your next trip.
Runners: never let a Stalker reach you
Ultragenetic Mole Miner Stalkers hunt the tunnels and cannot be damaged or killed, so avoiding them is the only option. Contact used to be an instant kill. Since the March 2026 update they deal heavy physical damage and apply a deadly bleed instead, which is survivable at full health but still ends most runners who are already hurt. Constant sprinting is why AP regeneration matters so much on this role.
Deliver 15 canisters to finish the stage
The encounter completes once 15 fuel canisters are in the box. They are not hard to find, but knowing the spawn points saves the trips that get runners killed.
Learn the fuel canister spawn locations
The map below marks every possible fuel canister spawn in the tunnels around the drill. Worth committing to memory before your first attempt, since hunting blind is what puts runners in front of Stalkers.
Runners: help clear if the drill is losingOptional
If the defenders are being overwhelmed, kill a few enemies each time you drop off a canister. A little help on every trip is usually enough to let them stabilize.
Stage 3: Enclave Squad Epsilon
Find the three shield generators
One generator sits in a side room on the left, one on the right, and the third is on the second floor at the back of the room.
Assign one player per generator, one floater
Station a player at each of the three generators and leave your hardest hitter free in the middle of the room to move wherever damage is needed.
Match each boss to its generator by spawn point
Three bosses in Vulcan power armor emerge on the left, right, and middle. Where a boss spawns tells you which generator is powering its shield, so the one on the right is tied to the right-hand generator.
Break all three generators at once if you can
Destroying a generator lets you damage the boss connected to it. Dropping all three at roughly the same time is easier, because then every boss is vulnerable and nobody is standing around waiting.
Kill eyebots the moment they start repairing
Eyebots spawn and fly to the generators to repair them. If a boss suddenly goes immune, its generator has been fixed. Go back, kill the eyebots, break the generator again, then return to the boss.
Kill the bosses in any order
Nothing about this fight depends on sequence. Damage all three together or focus them down one at a time, whichever your team coordinates better.
Stage 4: The Crystals
Understand that nothing here takes weapon damage
An Ultragenetic Mole Miner Stalker leads this encounter, and it and every enemy that spawns alongside it are immune to your weapons. Crystals are the only damage source in the room.
Lure enemies to a crystal, then shoot it
Shoot an enemy to pull its attention, walk it over to one of the green ultracite crystals scattered around the arena, then shoot the crystal to detonate it and damage everything nearby.
Never spend a crystal on fewer than three enemies
The arena holds a finite number of crystals. Blowing one to kill a single enemy is how teams run dry and fail the encounter outright, so group enemies up before detonating.
Stay out of the toxic clouds
A destroyed crystal leaves a lingering toxic cloud that damages you. Route around them or jump over rather than running through.
Watch the shared health bar at the bottom
Every enemy you kill drains the boss health bar across the bottom of the screen. Empty that bar and the encounter ends. Some of these enemies hit very hard, so keep your distance while you are herding them.
Stage 5: Ultracite Terror
Expect a bullet sponge, not a puzzle
The Ultracite Terror, the snake boss, closes the raid. Its mechanics are straightforward and the real challenge is the sheer size of its health pool.
Dodge the lunge and the acid
It lunges down at players and spits acid that is dangerous both in the air and as a pool on the ground. Do not stand in the residue after the spit lands.
Hold the center against the sonic blast
The sonic blast is the attack that actually kills people. It shoves you backward, and being pushed off the platform into the lava is instant death. Fight from as close to the middle of the platform as you can.
Drop everything when the tail appears
The boss periodically raises its tail out of the lava and a second health bar appears for it. Kill the tail immediately. If it survives long enough to slam down, it tears off a chunk of the platform, shrinking the space you have and making the sonic blast far deadlier.
Shoot the head, and the eyes if you can
Use hard-hitting long-range weapons, since melee is unusable here. Head shots do bonus damage and hits to the eyes do the most damage available, which matters a lot against a health pool this size.